Longriver
Cherry Data Importer
This plugin will help you export posts, comments, widgets, settings etc., from one site to another. With a single click of a button the plugin generates an XML file that can be imported to another website.
After the installation the plugin adds a new block - Demo Content where you can export or import the content.
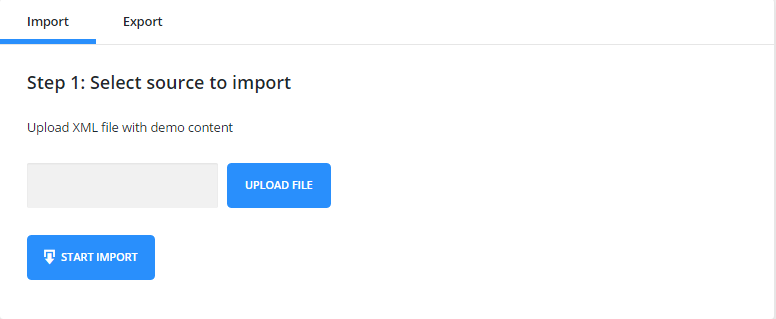
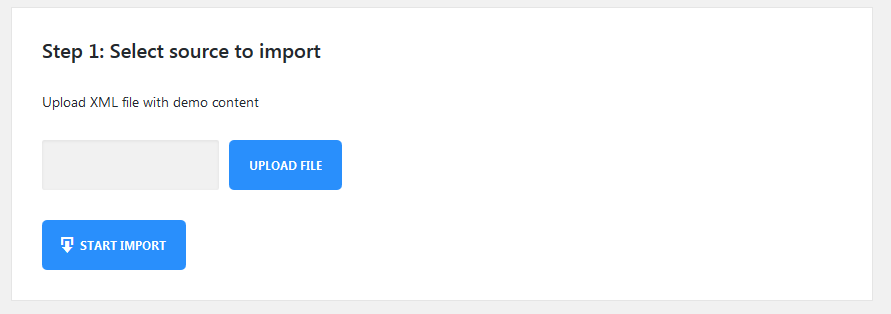
File Import
To import the content, you need to upload the XML file and press Start Import.
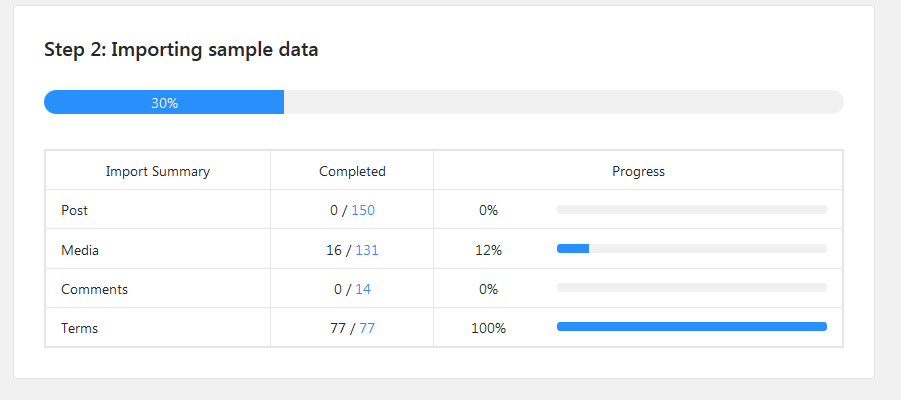
Once the import begins you will see a box with progress bars.
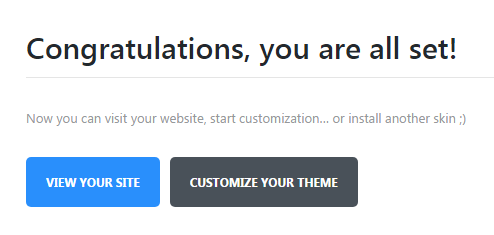
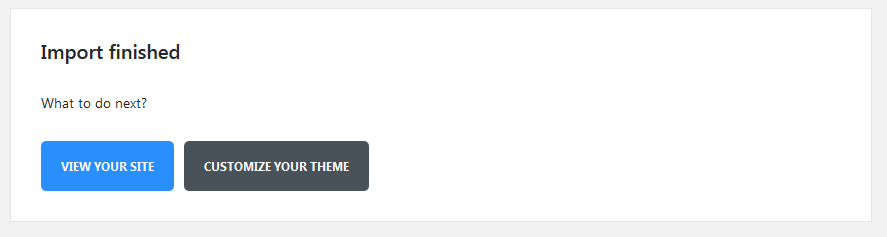
After the import is complete you can view the site or customize it.
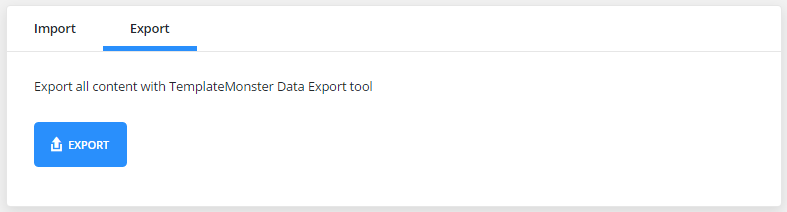
File Export
To export the data, you only need to press an Export button and an XML file will be created automatically.
Customizing Plugin for a Specific Template
	?php
/**
 * Default manifest file
 *
 * @var array
 */
$settings = array(
    'xml' => array(
        'enabled'    => true,
        'use_upload' => true,
        'path'       => false,
    ),
    'import' => array(
        'chunk_size' => $this->chunk_size,
    ),
    'remap' => array(
        'post_meta' => array(),
        'term_meta' => array(),
        'options'   => array(),
    ),
    'export' => array(
        'message' => __( 'or export all content with TemplateMonster Data Export tool', 'cherry-data-importer' ),
        'logo'    => $this->url( 'assets/img/monster-logo.png' ),
        'options' => array(),
    ),
    'success-links' => array(
        'home' => array(
            'label'  => __( 'View your site', 'cherry-data-importer' ),
            'type'   => 'primary',
            'target' => '_self',
            'url'    => home_url( '/' ),
        ),
        'customize' => array(
            'label'  => __( 'Customize your theme', 'cherry-data-importer' ),
            'type'   => 'default',
            'target' => '_self',
            'url'    => admin_url( 'customize.php' ),
        ),
    ),
);
Array Structure
XML importer settings. Features:
-
- enabled
- enable/disable XML importer;
-
- use_upload
- show/hide the files upload form;
-
- path
- path to the pre-installed sample-data;
-
- import
- import settings;
-
- chunk_size
- number of processed items at 1 importing step. The less this number is, the more steps will be during the importing process, and less time will be spent for 1 step. For this reason, it is strongly recommended to reduce this number for the themes with large sample data to avoid problems with importing files on weak servers;
-
- remap
- data post-processing settings. Here you need to add keys with posts IDs that can be changed during the import;
-
- post_meta
- post metadata settings;
-
- term_meta
- terms metadata settings;
-
- options
- options.
Export Settings
-
- message
- message displayed in the export block;
-
- logo
- url of the logo displayed in the export block;
-
- options
- options array for the additional export.
-
- success links
- associative array of links displayed on successful installation page. Link ID is used as a key. The plugin contains IDs for the homepage and for customizer;
-
- label
- link text;
-
- type
- type of displayed button (default, primary, success, danger, warning);
-
- target
- _balnk, _self;
-
- url
- link url.
Cherry Search
Cherry Search allows you to send search queries without reloading the page via AJAX technology. In this way, users can find any information they are interested in quickly and easily. Thanks to a full range of settings, you can customize the functionality of the plugin the way you need.
Settings
Once the plugin is installed you can see a Cherry Search button in the right sidebar of your admin panel:
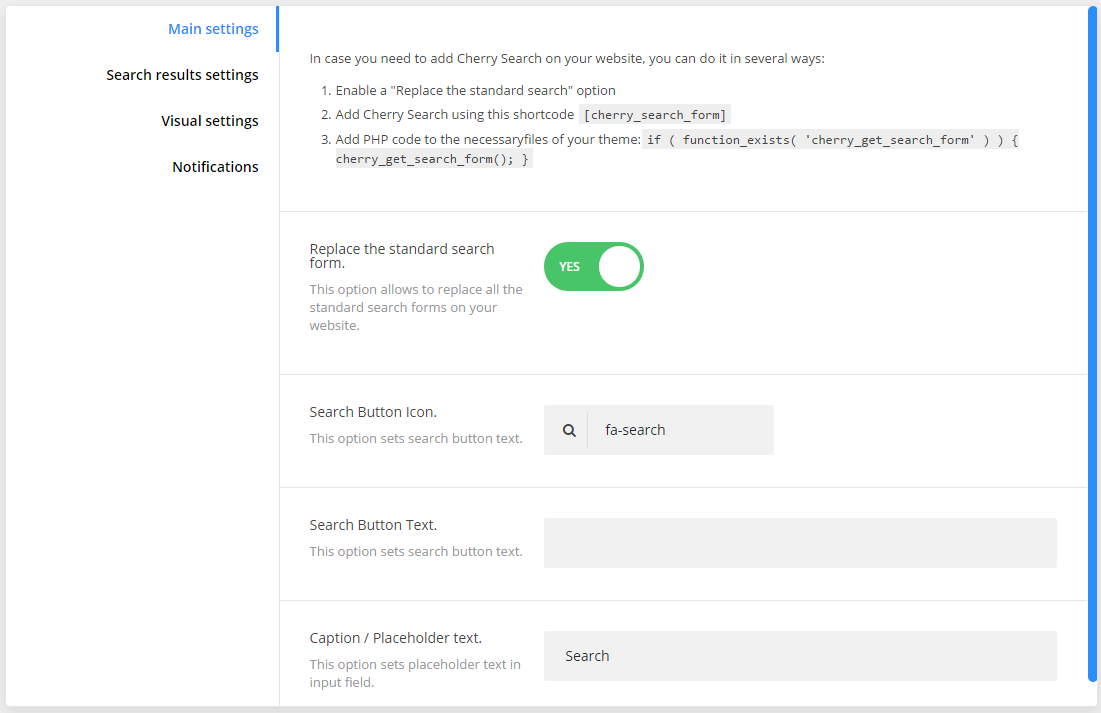
Main Settings
-
- replace the standard search form
- this option allows to replace all the standard search forms on your website;
-
- search button text
- this option sets search button text;
-
- search button icon
- this option sets search button icon;
-
- caption / placeholder text
- this option sets placeholder text in input field.
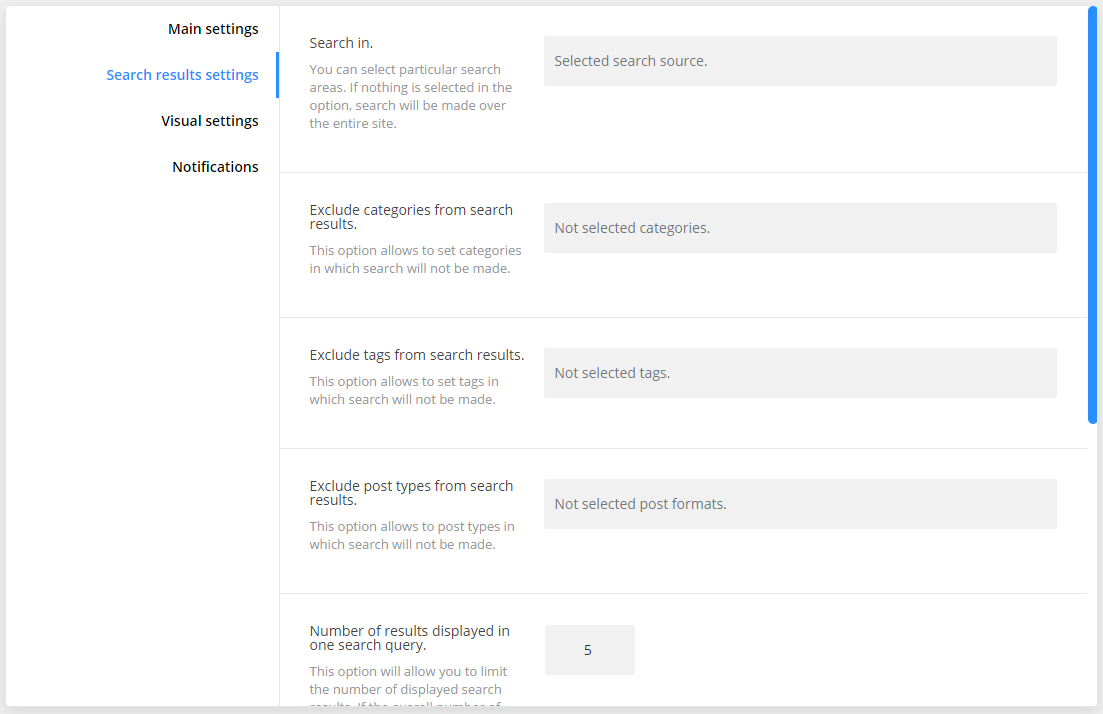
Search Result Settings
-
- search in
- you can select particular search sources. If nothing is selected in the option, search will be made over the entire site;
-
- exclude categories from search results
- this option allows to set categories in which search will not be made;
-
- exclude tags from search results
- this option allows to set tags in which search will not be made;
-
- exclude post types from search results
- this option allows to set post types in which search will not be made;
-
- number of results displayed in one search query
- this option will allow you to limit the number of displayed search results. If the overall number of results exceeds previous set limit, the "load more" button will come up;
-
- sort search results by
- sort search results by a certain criteria;
-
- filter results by
- filter search results by ascending or descending order.
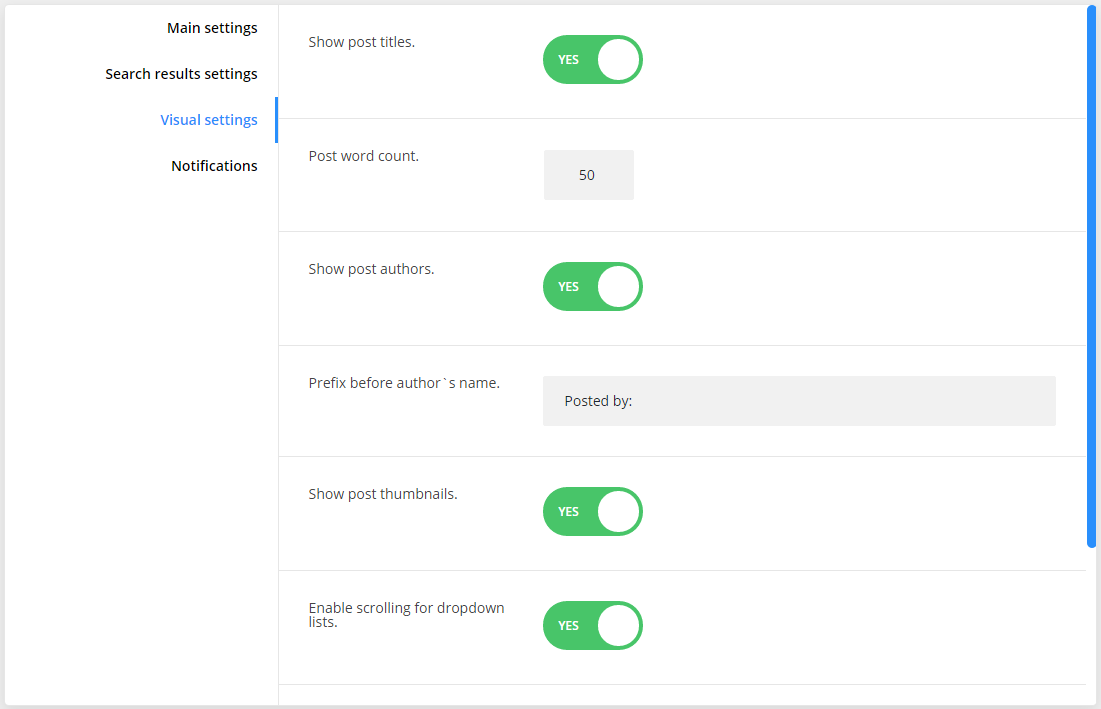
Visual Settings
-
- show post titles
- show/hide post titles;
-
- post word count
- specify the post word count;
-
- show post authors
- show/hide post authors;
-
- prefix before author`s name
- specify the prefix that will be displayed before author’s name;
-
- show post thumbnails
- show/hide posts thumbnails;
-
- enable scrolling for dropdown lists
- enable disable scrolling for dropdown search results lists;
-
- dropdown list height
- specify the dropdown list height;
-
- view more button text
- add text for view more button.
Notifications
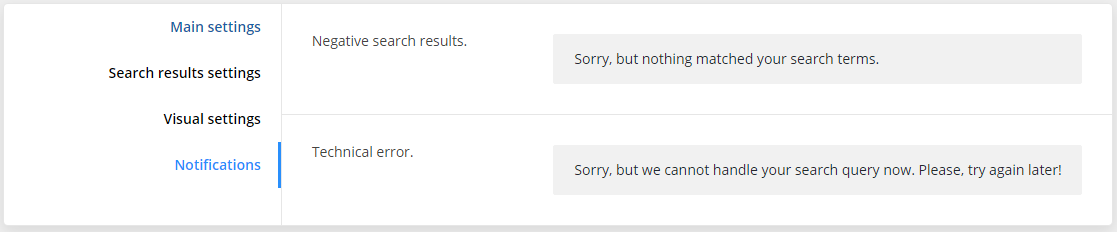
-
- negative search result
- text that will be displayed if nothing is found;
-
- technical error
- text that will be displayed during technical error.
Cherry Sidebar Manager
Cherry Sidebar Manager is designed to create custom sidebars with specific sets of widgets and define custom sidebars on pages.
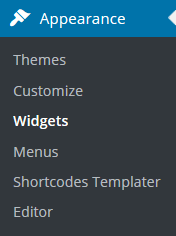
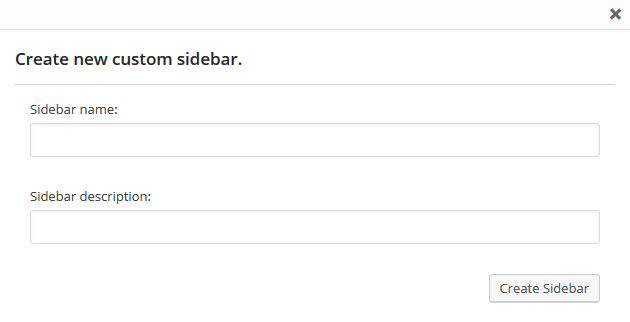
To add a new sidebar, go to the Appearance > Widgets section and click Create a new sidebar.
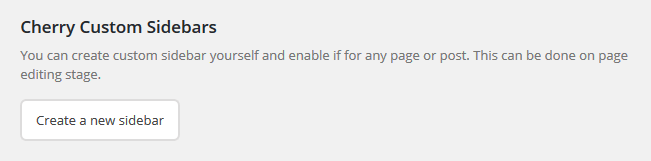
Input Sidebar name and Sidebar description. Then click Creating Sidebars
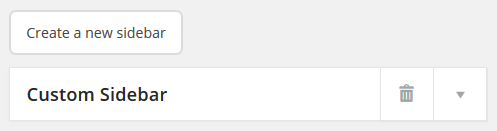
You can arrange your widgets set in your sidebar by adding the new ones, changing the order of widgets and removing the unused ones.
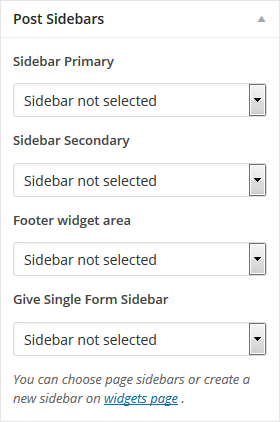
Avaliable Post Sidebar Areas
Cherry Team Members
The plugin Cherry Team Members is specially designed to make it easier for the businesses to display info about their team and personnel. It contains a full set of options and tools that will help adjust the profile in accordance with the skills and the position of the members. Let’s take a closer look at the plugin on the front end.

-
- properties
- here you can see all the available posts;
-
- types
- in this section you can create various real estate types;
-
- tags
- add proper tags;
-
- features
- add all necessary features to the post;
-
- settings
- here you can find all the settings for the plugin.
Cherry Testimonials
Unveil customers' feedback on your services to look more reliable to prospects. This easy-to-use plugin Cherry Testimonialsis designed to help you add testimonials and reviews to the site and customize their look in accordance with the design of the website. Testimonials can also be added via shortcodes to any page or post. With Cherry Testimonials, you can prove your testimonials aren't fake and were written by real people. Besides the testimonial itself, it's possible to reveal a lot of details about its author. They include his name, photo, email, company he works in, his position, and link to the site of that company or his personal blog. Note that you can hide the email, position, company's name, and photo, if a customer doesn't want you to reveal any of that data.

Adding new testimonials
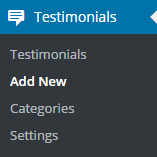
To add a new testimonial, find Testimonials tab in the WordPress sidebar and press Add New button.
Contact form 7
Contact form 7 plugin can manage multiple contact forms. It also lets you customize the form and the mail contents flexibly with simple markup.
Displaying a Form
Let’s start with displaying a form on your page. First, open the Contact > Contact Forms menu in your WordPress administration panel.
You can manage multiple contact forms there.
Just after installing the Contact Form 7 plugin, you’ll see a default form - Contact form 1 and a code like this:
[contact-form-7 id="1234" title="Contact form 1"]
Copy this code. Then open (Pages > Edit) of the page where you wish to place the contact form. A popular practice is creating a page named Contact for the contact form page. Paste the code you've copied into the contents of the page.
Now your contact form setup is complete. Your site visitors can now find the form and start submitting messages to you.
Next, let’s see how you can customize your form and mail content.
Customizing a Form
Title for this contact form is (1) which is just a label for a contact form and is used for administrative purposes only. You can use any title you like, e.g. Job Application Form and so on.
Shortcode for this contact form is(2). Copy this code and paste it into your post, page or text widget where you want to place this contact form.
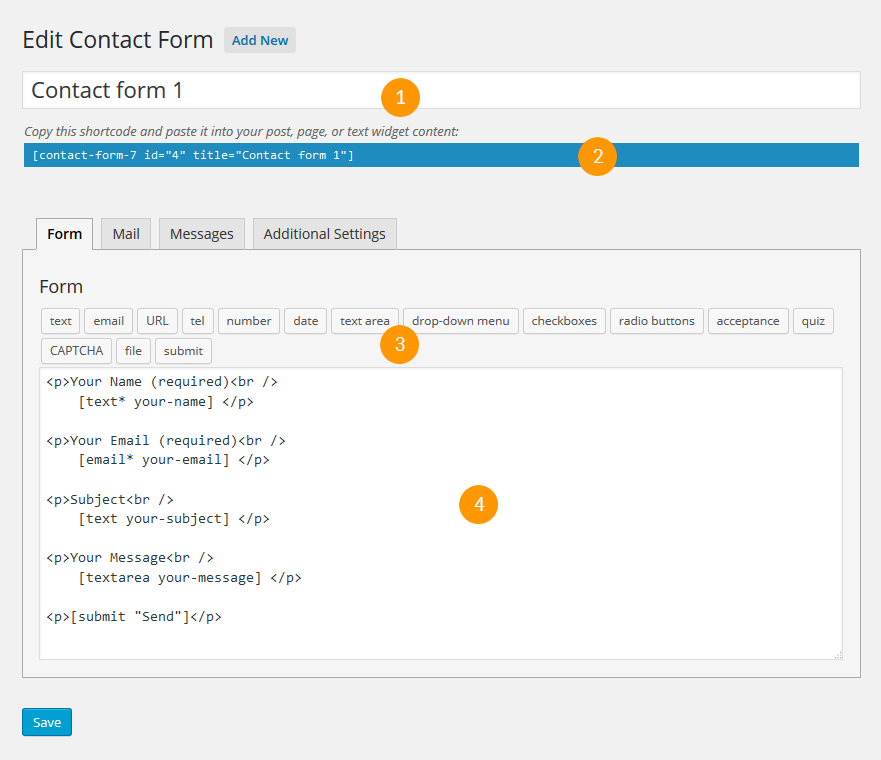
Form Tab
Form editing the field (4). You can customize the form content here using HTML and form tags. Line breaks and blank lines in this field are automatically formatted with <br/> and <p> HTML tags.
Tag generators (3). By using these tag generators, you can generate form-tags without knowledge of them.
For more information about form-tags, see How Tags Work.
Mail Tab
You can edit the mail template for the mail which is sent in response to a form submission. You can use mail-tags in these fields.
An additional mail template is also available. It is called Mail(2) and its content can differ from the primary Mail template.
For more information, see Setting Up Mail page.
Messages Tab
You can edit various kinds of messages, including Validation errors occurred, Please fill in the required field, etc.
Make sure that only plain text is available here. HTML tags and entities are not allowed in the message fields.
Additional Settings Tab
You can add customization code snippets here. For more details, see
The plugin will let admin user to add download links to any posts/pages in simplest way and hassle free. Allows all your site visitors to download any files from your website without any user restriction.
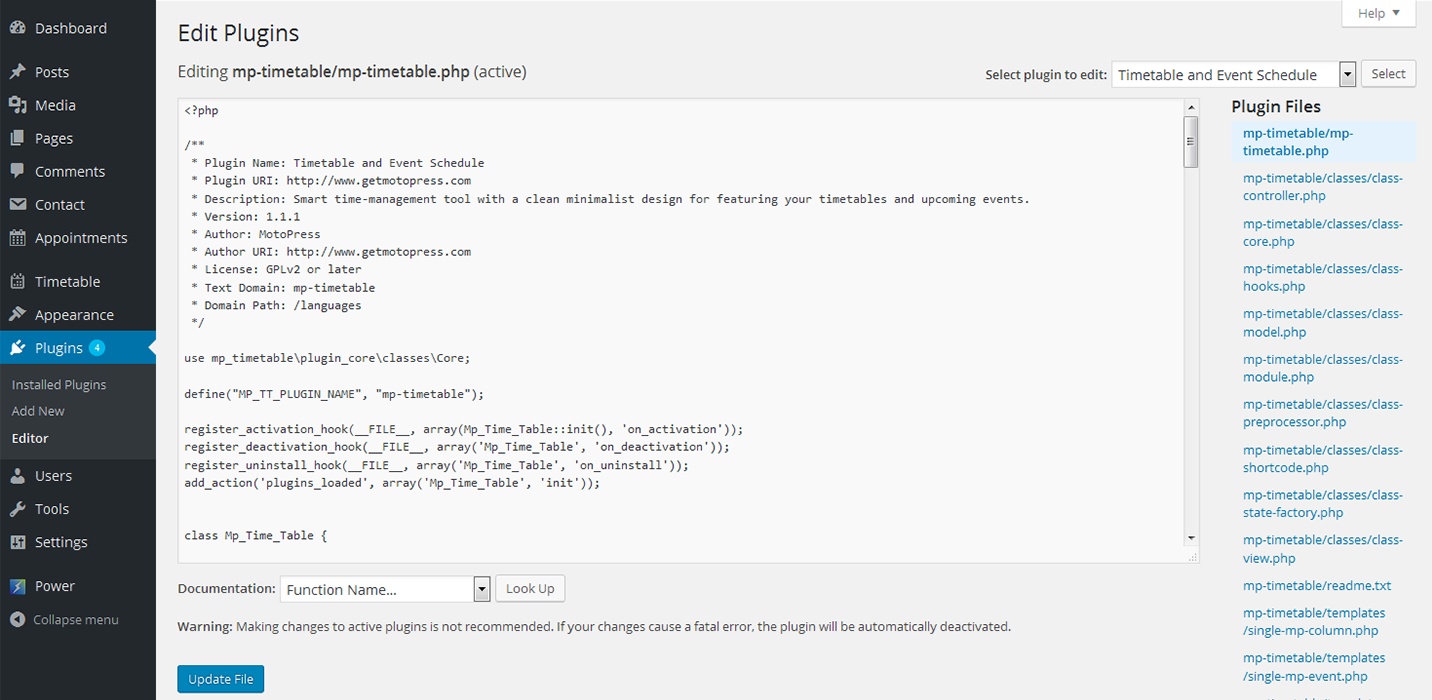
Timetable and Event Schedule
Timetable and Event Schedule plugin is an easy manageable timetablebuilding tool for constructing various kinds of event schedules (lessons, conferences, concerts, etc.) and featuring Upcoming events in the additional widget. It comes with clean modern interface and responsive design.
Installing
After downloading the plugin, you should have motopresstimetable.zip file on your computer. This is a compressed file that contains all the plugin data. Follow the steps listed below to install it:
log into your WordPress dashboard and go to Plugins > Add New;
click the Upload Plugin button;
click the Choose File button > find the plugin archive on your computer;
click Install Now;
click Activate.
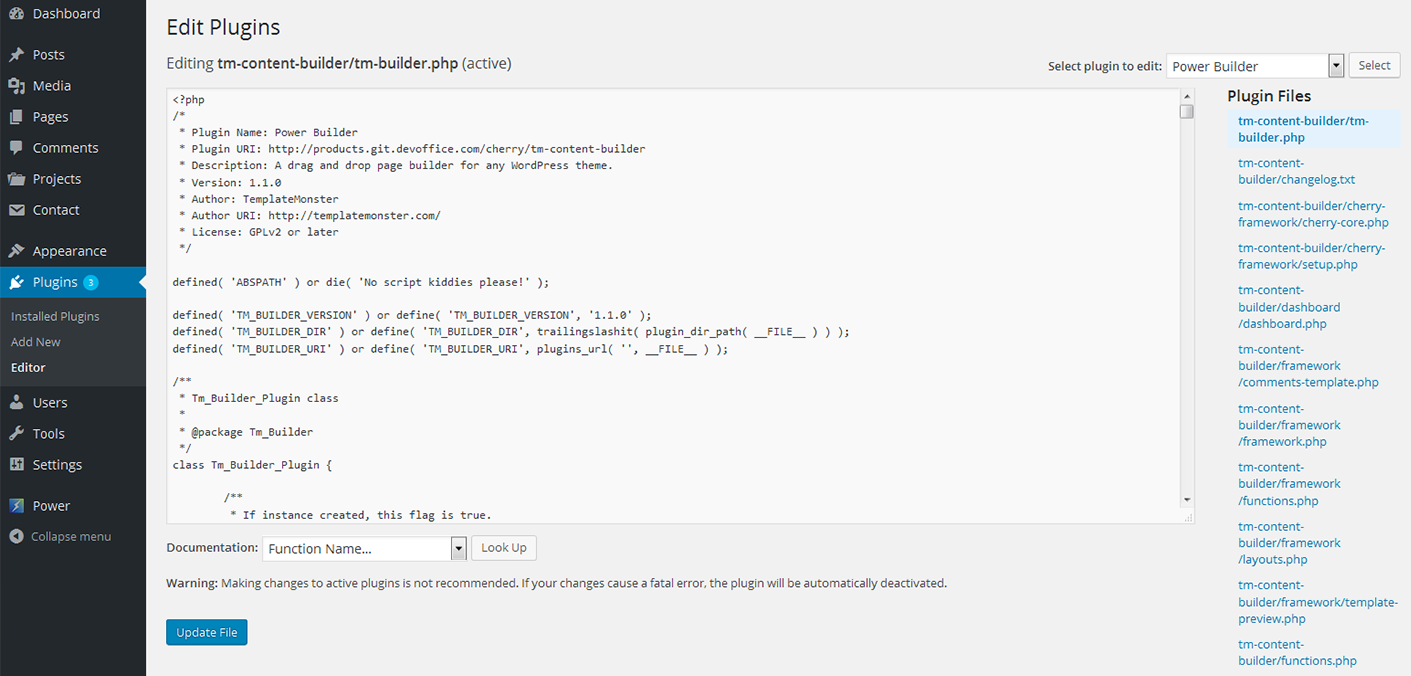
Power Builder
Power builder is a brand new drag and drop page builder from TemplateMonster. It allows even non developers to build top-quality and fully functional sites for any kind of business.
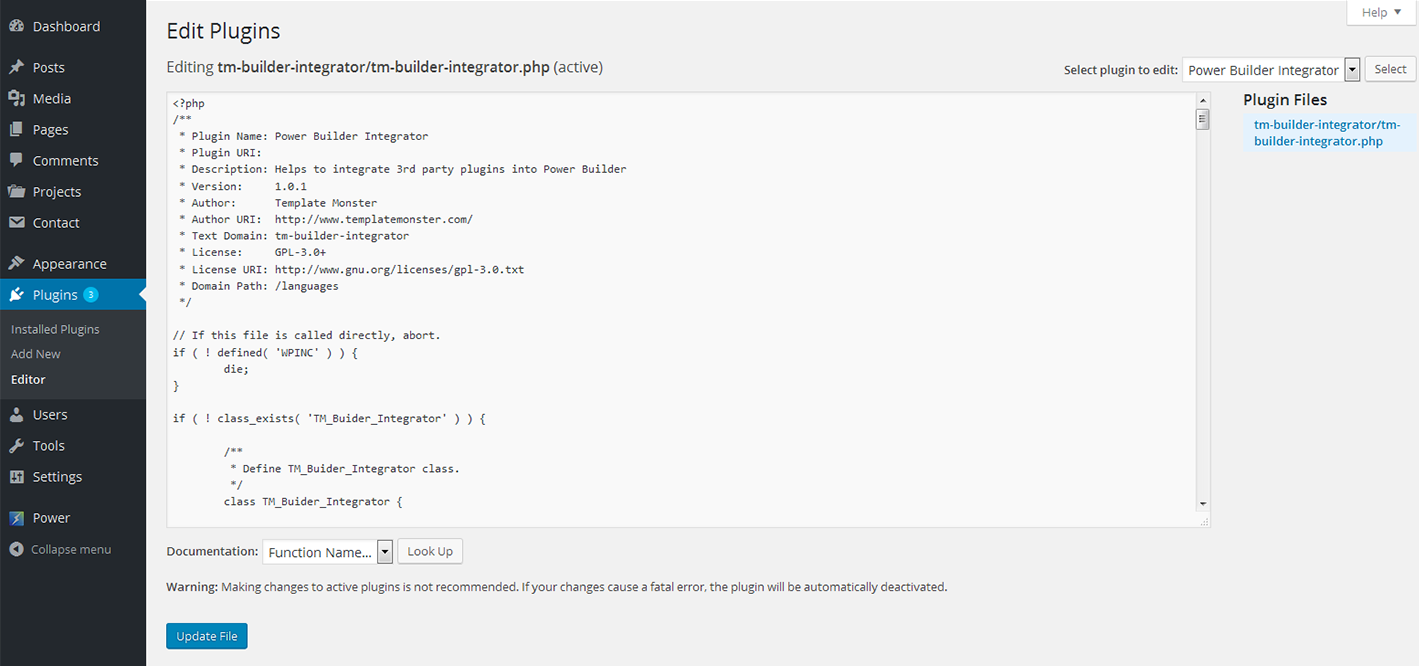
Power Builder Integrator
Power Builder Integrator is specially designed to help users integrate 3d party plugins into the Content Builder.
TM Wizard
TM Wizard plugin is a powerful instrument that allows you to install all the necessary plugins and demo-content in an easy and effortless way.
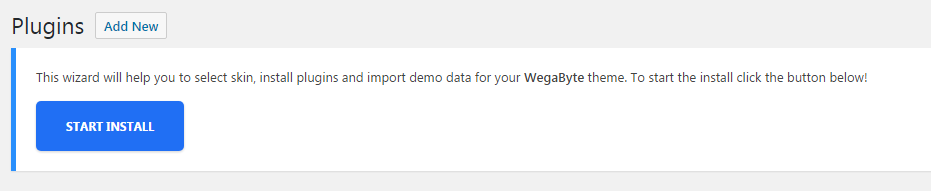
To install it you must go to Plugins tab in your administration panel. There you'll see the following notice.

Just click on Begin installing plugin link, and the installation will begin.
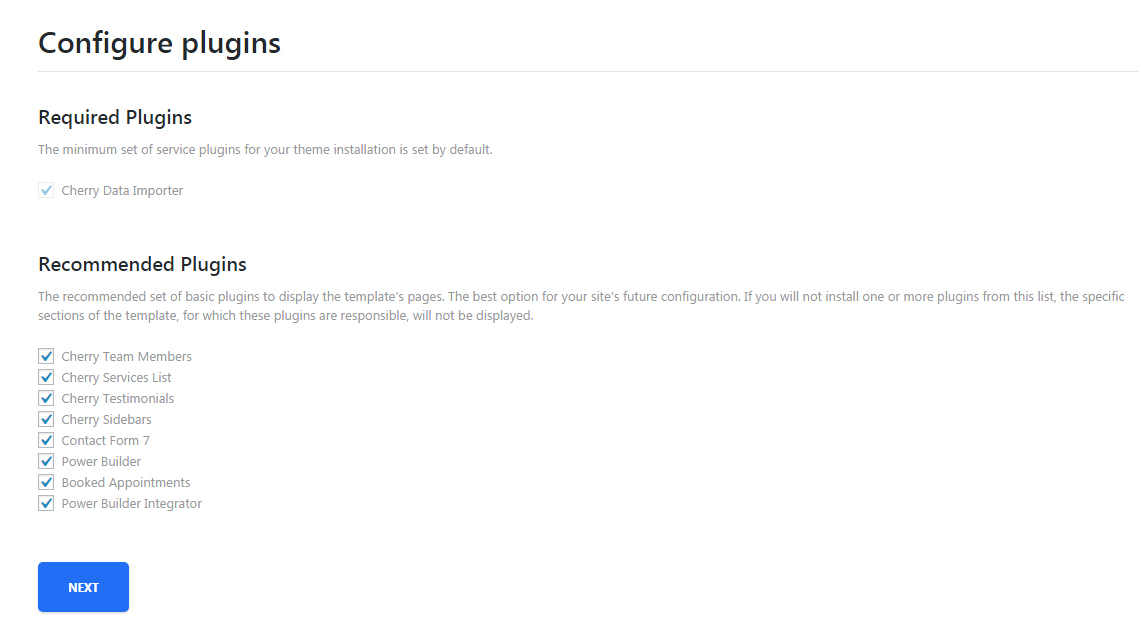
After TM Wizard is installed you will be able to see TM Wizard tab in your administration panel. Go to this tab, and TM Wizard will offer you to install the bunch of recommended plugins to your theme.
You can also select which particular plugins you want to be installed. To do it you just have to select them from the list that wil appear on your page. Then click on Next button and proceed to the installation process.
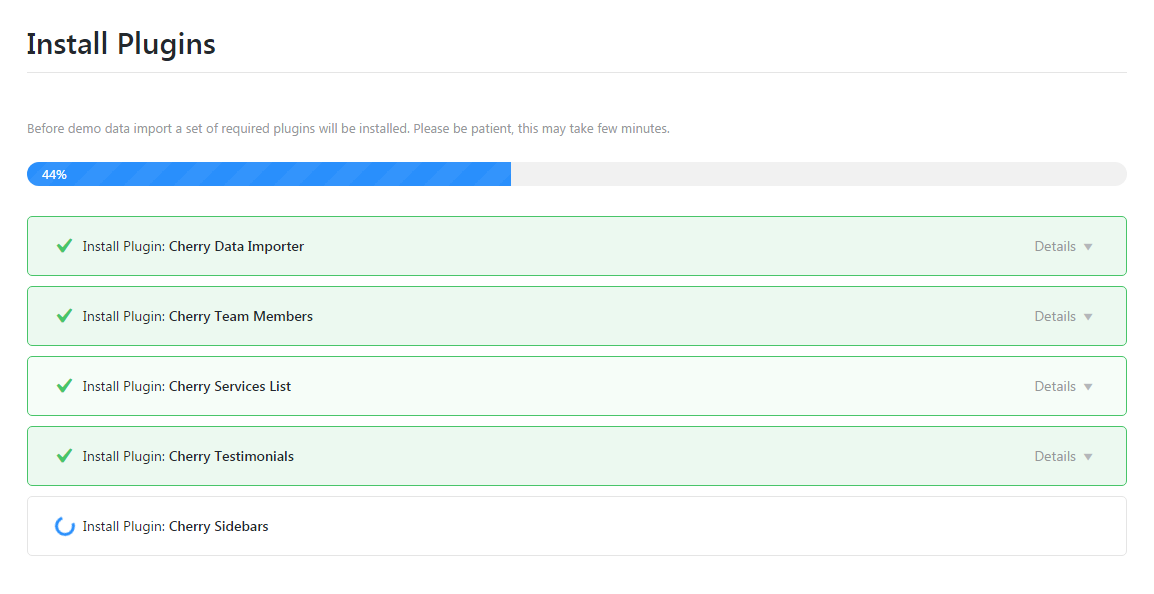
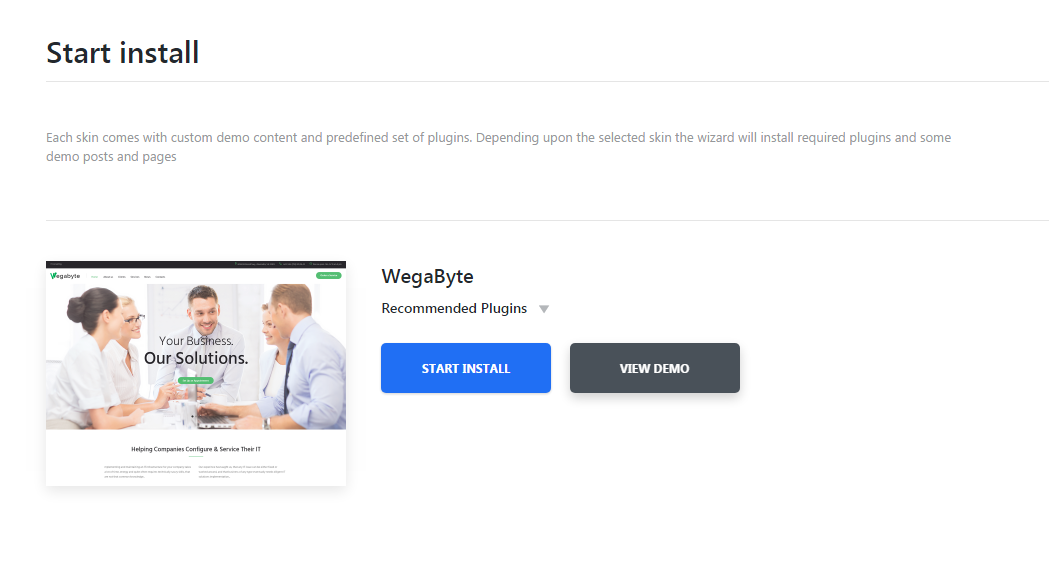
When the plugins are installed it is time to install demo content for your theme. TM Wizard will offer you to do just that.
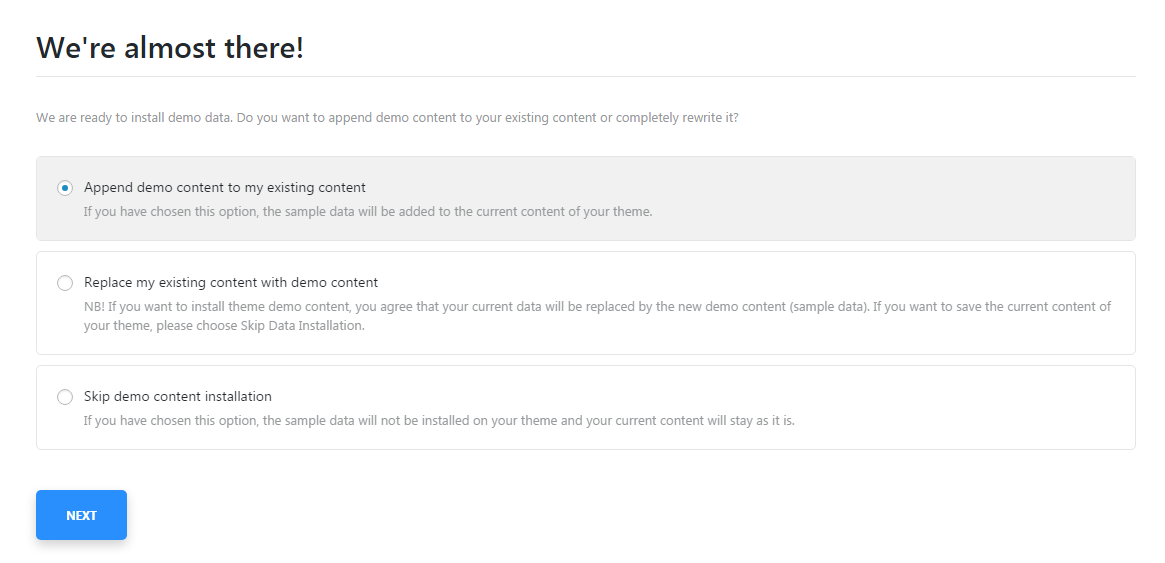
Demo Content Installation
TM Wizard will offer you several scenarios how to install demo content to your theme.
-
- Append demo content to my existing content
- this option will append the demo content for your theme with your existing content.
-
- Replace my existing content with demo content
- this option will rewrite your previous existing content with the demo content.
-
- Skip demo content installation
- by choosing this option you refuse to install demo content for your theme.
When the installation will be over you'll see the following notice.