Retailer FairyStyle:
Third-party Plugins
BNE Testimonials
Display testimonials on any page of your site with the help of this advanced BNE Testimonials plugin. The testimonials can be displayed as a list or a slider and easily customized in accordance with the design of the website.
Thanks to an assortment of flexible adjustments you can add title, featured image, tagline, website, message and custom taxonomy to arrange the testimonials in different groups. Use [bne_testimonials_list] & [bne_testimonials_slider] shortcodes to add the widget quickly and worry-free.
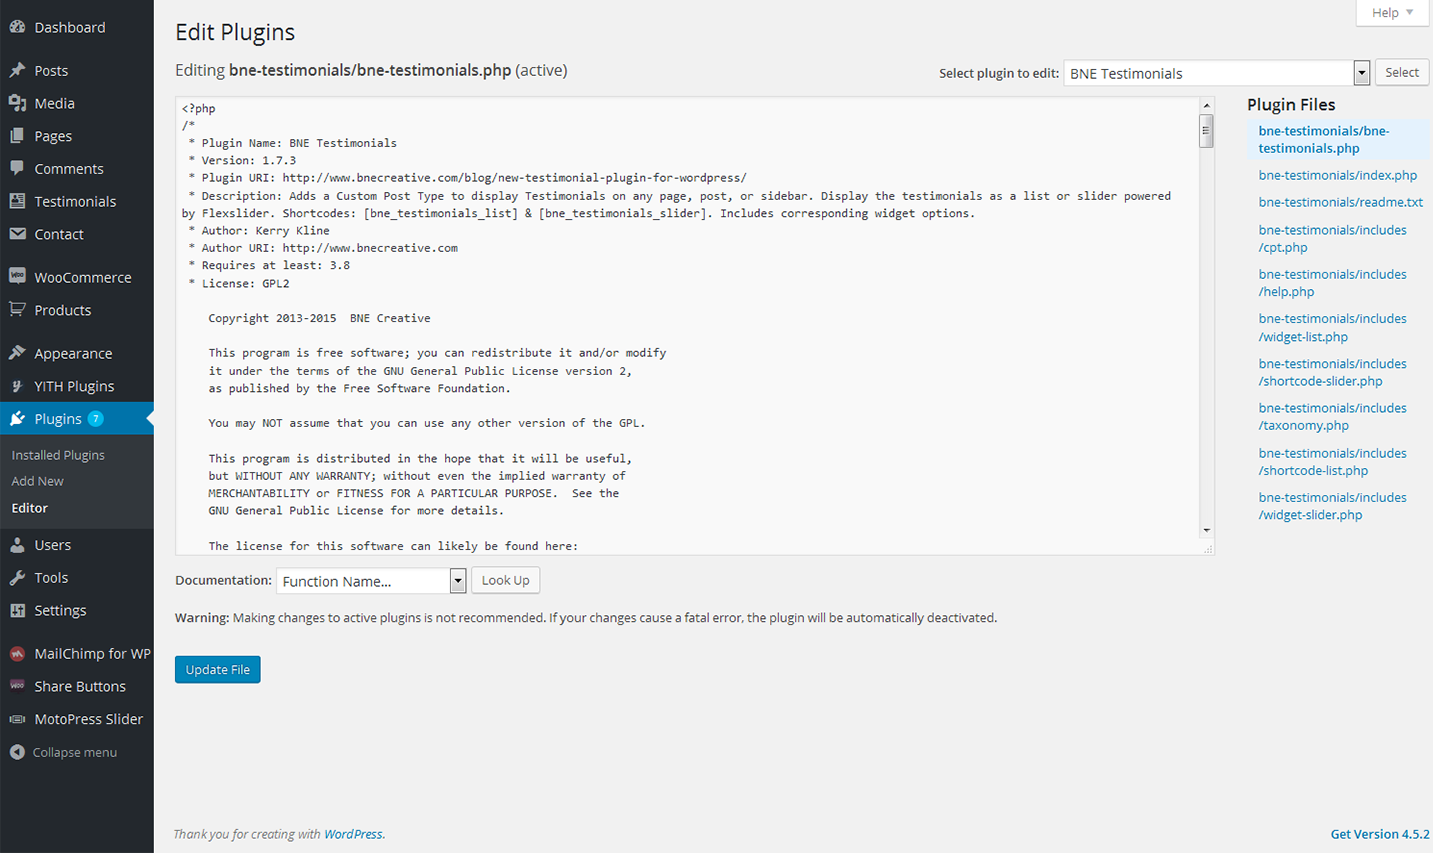
Installing BNE Testimonials plugin
So, let's take a closer look at how to install this plugin
Upload "bne-testimonials" folder to the "/wp-content/plugins/" directory
Activate the plugin through the "Plugins" menu in WordPress
A new menu item "Testimonials" will be added
Add either "[bne_testimonials_list]" or "[bne_testimonials_slider]" to a post/page or use the available widgets in a sidebar.
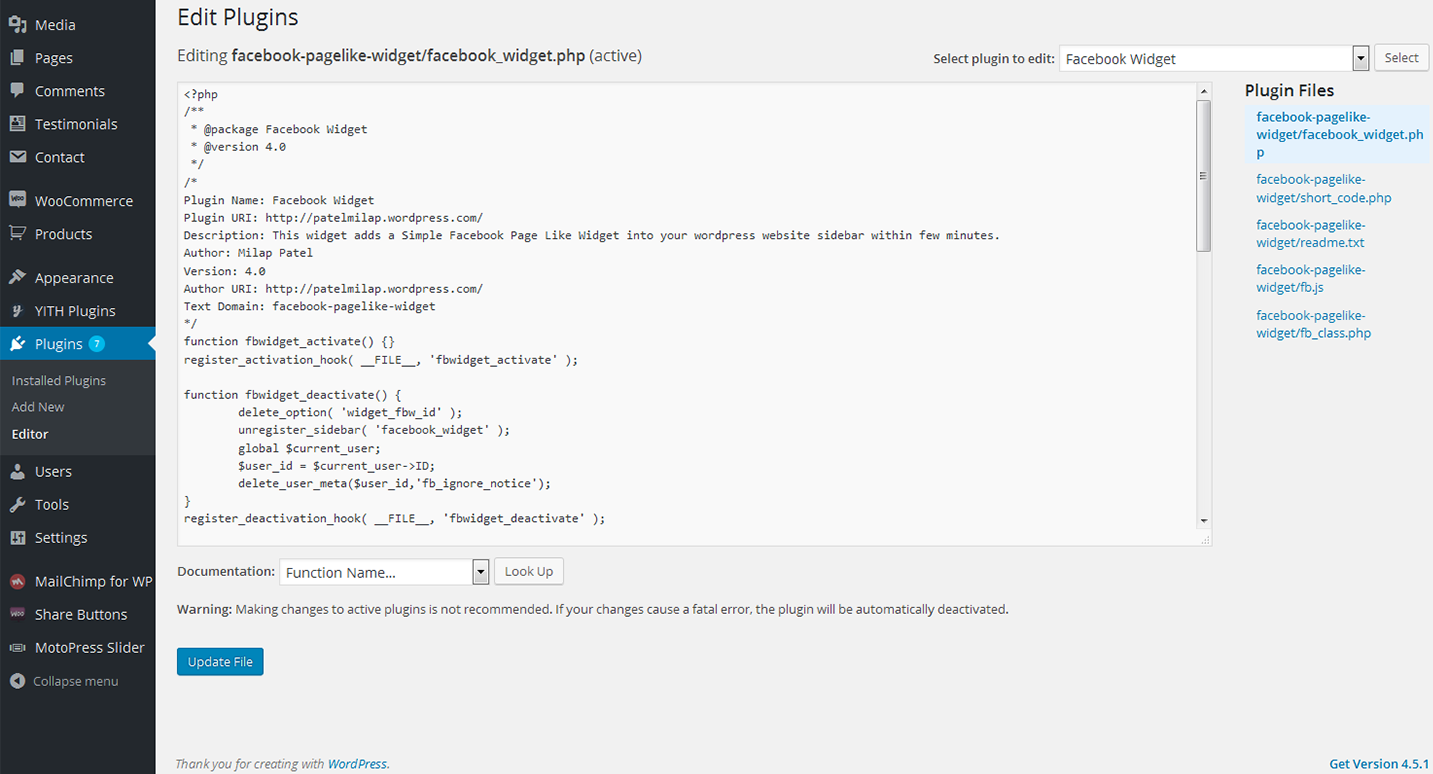
Facebook Page Like Widget
This Facebook Widget plugin is specially designed to help you display likes from your Facebook account on the WordPress sidebar. It can be customized even by non developers and users wihout coding skills.
The plugin features a variety of tools and options like: show faces , show Data Stream and Header. The latest version also offers adding the plugin into your posts and pages.
Installing Facebook Widget plugin
Go to Plugins > Add New
Type in the name of the WordPress Plugin or descriptive keyword, author, or tag in Search Plugins box or click a tag link below the screen
Find the WordPress Plugin you wish to install
Click Details for more information about the Plugin and instructions you may wish to print or save to help setup the Plugin
Click Install Now to install the WordPress Plugin
The resulting installation screen will list the installation as successful or note any problems during the install
If successful, click Activate Plugin to activate it, or Return to Plugin Installer for further actions.
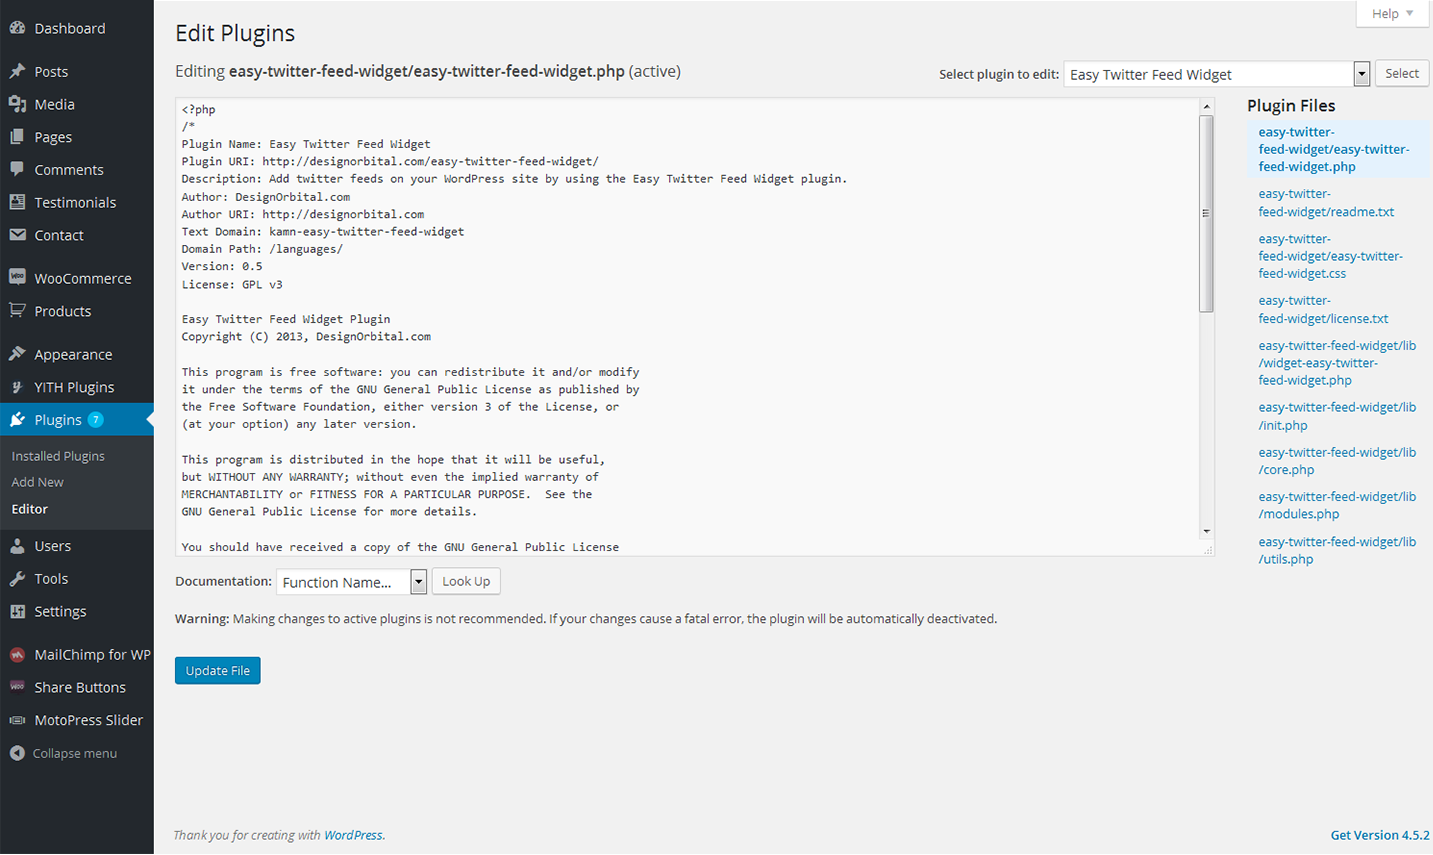
Easy Twitter Feed
Display tweets on your site without creating an API. With the help of this advanced Easy Twitter Feed Widget plugin. In this way, you can add tweets quickly and worry-free.
It will be a perfect solution for both experienced bloggers and begineers who only start working with the plugins.
Installing Easy Twitter Feed plugin
Upload the easy-twitter-feed-widget folder to the /wp-content/plugins/ directory
Activate the Easy Twitter Feed plugin through the 'Plugins' menu in WordPress
Configure the plugin by going to the Settings > Easy Twitter Feed Options
Use the Easy Twitter Feed by going to the Appearance > Widgets
Next you need to get Twitter Widget ID. Follow the steps listed below:
Sign In to your Twitter Account
Go to Settings > Widgets > Create new
Click Create Widget button
You can copy the Widget ID from Browser Address Bar e.g. 419173025219799552
OR You can copy the Widget ID from the given HTML under the Widget Preview i.e. data-widget-id="419173025219799552"
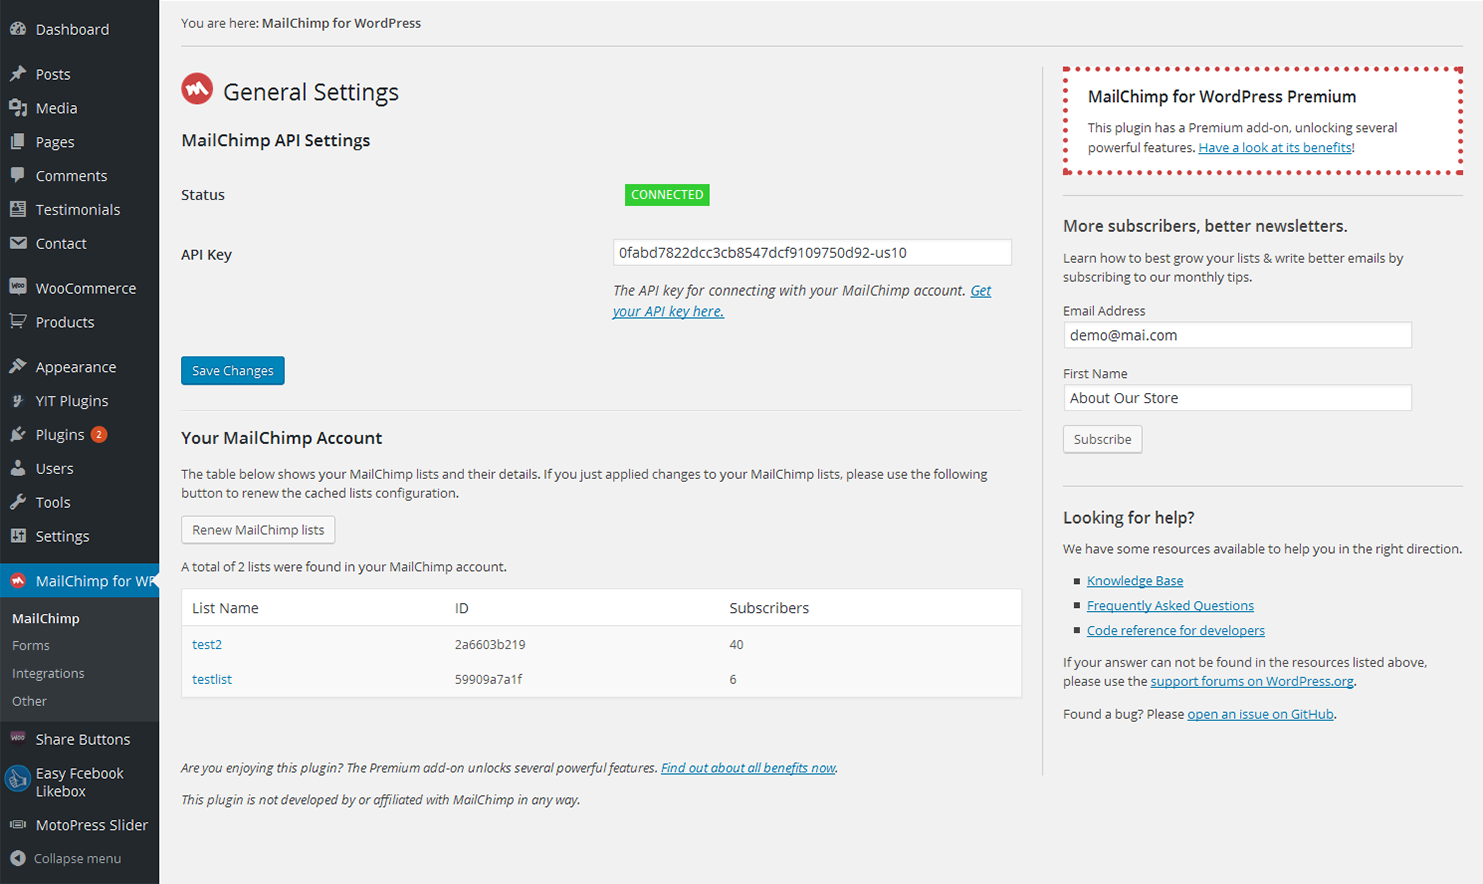
MailChimp for WordPress
MailChimp for WordPress plugin helps you add subscribers to your MailChimp lists using various methods. You can create good looking opt-in forms or integrate with any other form on your site, like your comment form or WooCommerce checkout.
Installing MailChimp for WordPress
Like other free WordPress plugins, installing the MailChimp for WordPress is quite an easy procedure. All you need is a MailChimp account and a self-hosted website.
In your WordPress admin panel, go to Plugins > New Plugin, search for MailChimp for WordPress and click "Install now"
Alternatively, download the plugin and upload the contents of mailchimp-for-wp.zip to your plugins directory, which usually is /wp-content/plugins/.
Activate the plugin.
Set your MailChimp API key in the plugin settings.
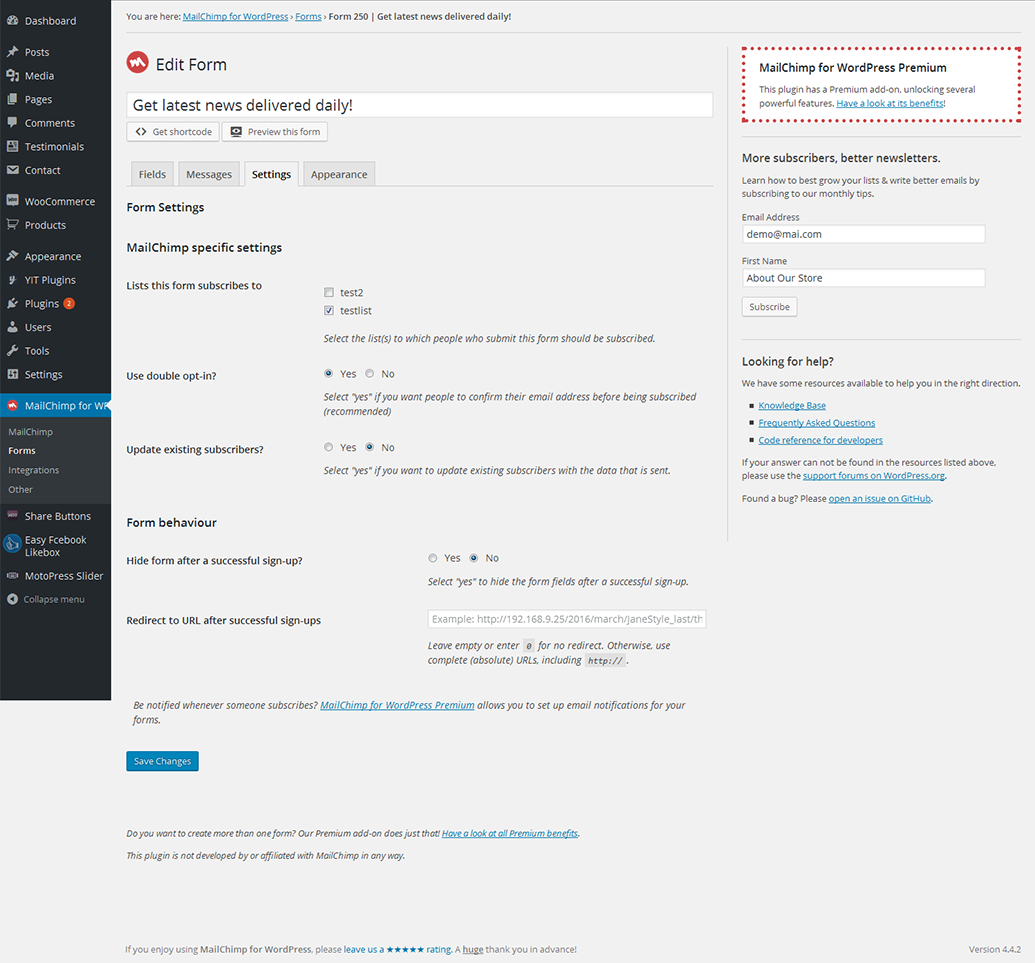
Forms
MailChimp specific settings
-
- Lists this form subscribes to
- Choose the list.
-
- Use double opt-in?
- Select "yes" if you want people to confirm their email address before being subscribed (recommended).
-
- Update existing subscribers?
- Select "yes" if you want to update existing subscribers (instead of showing the "already subscribed" message). This option is only available in MailChimp for WordPress Pro.
-
- Replace interest groups?
- Select "yes" if you want to replace the interest groups with the groups provided instead of adding the provided groups to the member's interest groups (only when updating a subscriber). This option is only available in MailChimp for WordPress Pro.
Form behaviour
-
- Hide form after a successful sign-up?
- Select "yes" to hide the form fields after a successful sign-up.
-
- Redirect to URL after successful sign-ups
- Leave empty or enter 0 for no redirect. Otherwise, use complete (absolute) URLs, including http://.
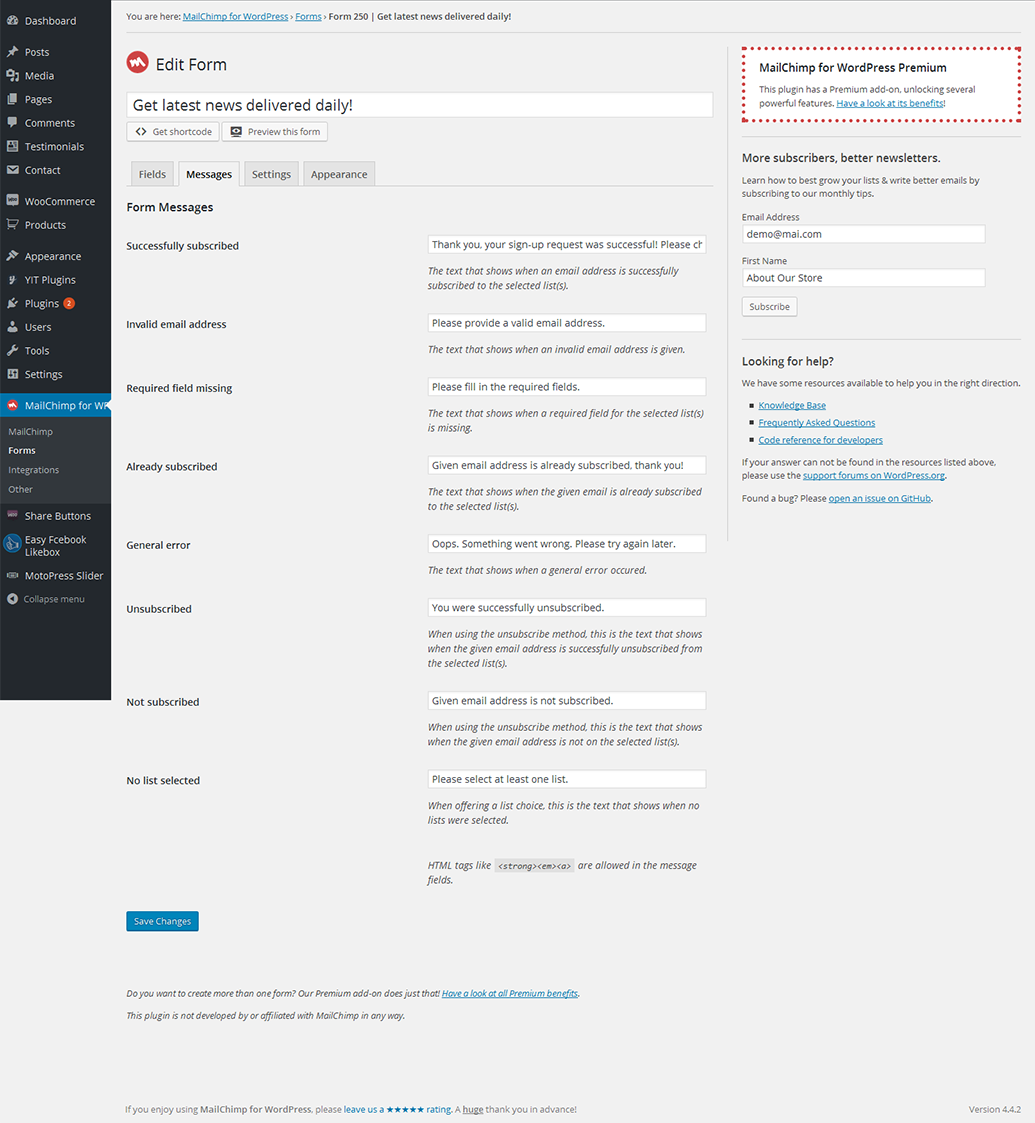
Form Messages
-
- Successfully subscribed
- The text that shows when an email address is successfully subscribed to the selected list(s).
-
- Invalid email address
- The text that shows when an invalid email address is given.
-
- Required field missing
- The text that shows when a required field for the selected list(s) is missing.
-
- Already subscribed
- The text that shows when the given email is already subscribed to the selected list(s).
-
- General error
- The text that shows when a general error occured.
-
- Unsubscribed
- When using the unsubscribe method, this is the text that shows when the given email address is successfully unsubscribed from the selected list(s).
-
- Not subscribed
- When using the unsubscribe method, this is the text that shows when the given email address is not on the selected list(s).
-
- No list selected
- WWhen offering a list choice, this is the text that shows when no lists were selected.
MotoPress Slider
This Responsive MotoPress Slider is all you need for creating beautiful slideshows, smooth transitions, effects and animations. Easy navigation, intuitive interface and responsive layout.
This template includes Motopress Personal licence.
To customize the widget, navigate to the "Widgets" section of our documentation and find MotoPress Slider.
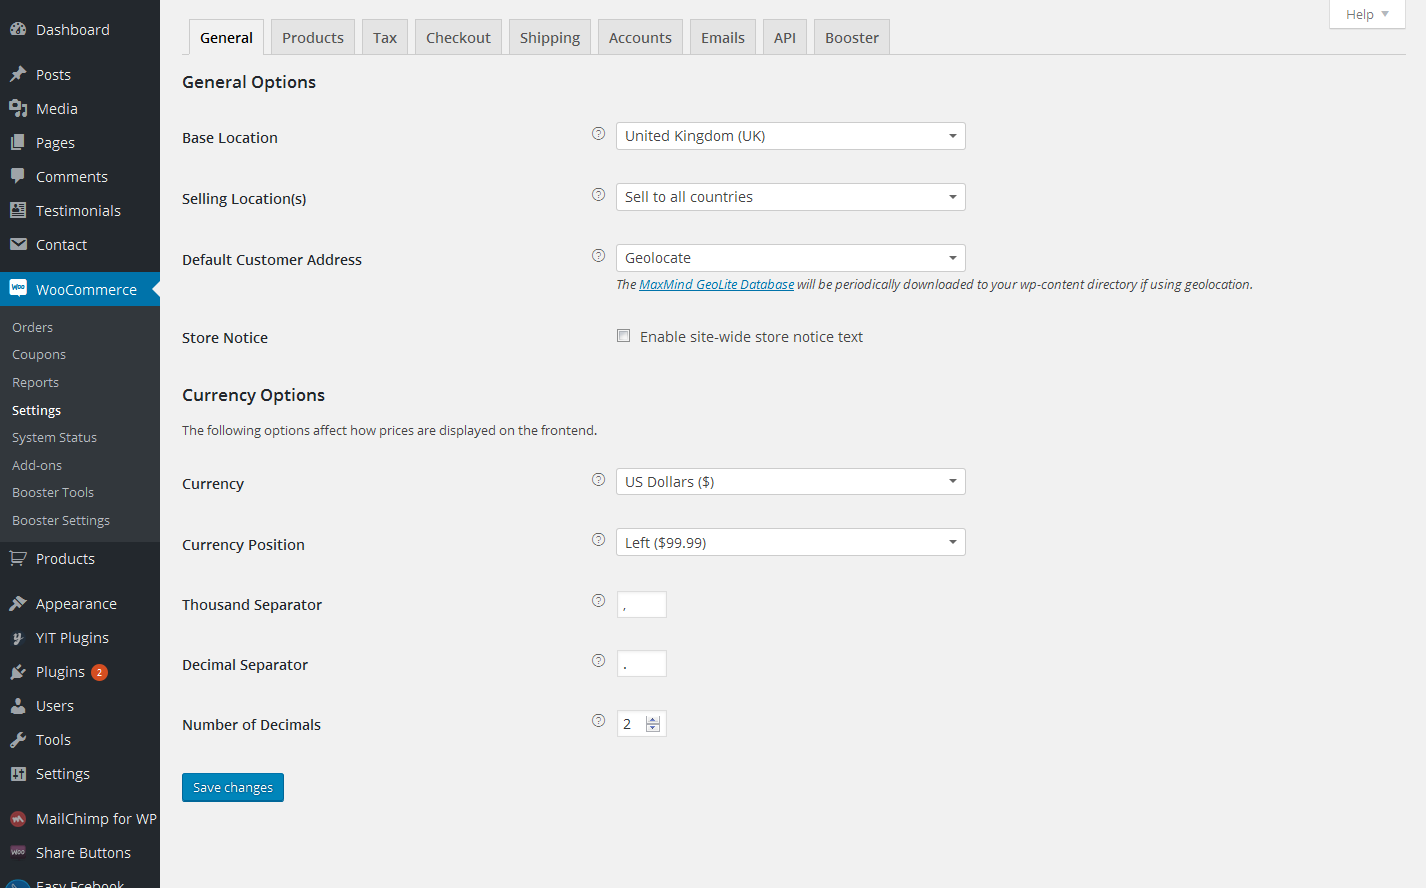
WooCommerce
Sell any products quickly and easily with the help of this professional WooCommerce plugin. It will be a perfect fit for both store owners and developers.
About 30% of all modern stores are powered by this plugin. It can be used for selling physical or digital products and even affiliate goods. It gives you access to hundreds of free and premium extensions that will help you optimize your business. Choose a proper extension to create bookings, memberships, recruiting subscriptions, various shipping and payment options and much more. This WooCommerce plugin gives you full controll of the store from managing taxes and customer accounts to changing the design.
Installing WooCommerce
Log in to your WordPress Admin panel
Go to: Plugins > Add New
Type ‘WooCommerce’ into the Search Plugins field and hit Enter. Once found, you can view details on the point release, rating and description
Click Install Now. After clicking the link, you’ll be asked to confirm this action
Click Yes, and WordPress completes the installation
WooCommerce Menu Items
-
- Orders
- This section allows you to see and manage all orders.
-
- Coupons
- In the "Couppons" sections site owners can create various kinds of discount campaigns and coupons to provide customers with the top of the line service.
-
- Coupons
- In the "Coupons" section, site-owners can create various kinds of discount campaigns and coupons to provide customers with the top of the line service.
-
- Reports
- "Reports" section gives you statistics on sales, coupons, campaigns, etc.
-
- Settings
- Configure the WooCommerce plugin from this section.
-
- System Status
- This section will become in hand during troubleshooting. The System Status Report gives you all information of the plugin setup and all potential conflicts.
-
- Add-Ons
- In this section you can browse for some new free and premium extensions that will bring even more functionality to your site.
-
- Booster Tools
- Information about all available WooCommerce tools can be found in this section. The enabled tools will be displayed in the right column.
Find more information about this plugin on the official homepage.
Woocommerce Social Media Share Buttons
Add all kinds of social share buttons with the help of this Woocommerce Social Media Share Buttons plugin. The plugin is quite flexible and can be adjusted in accordance with specifictions of your store.
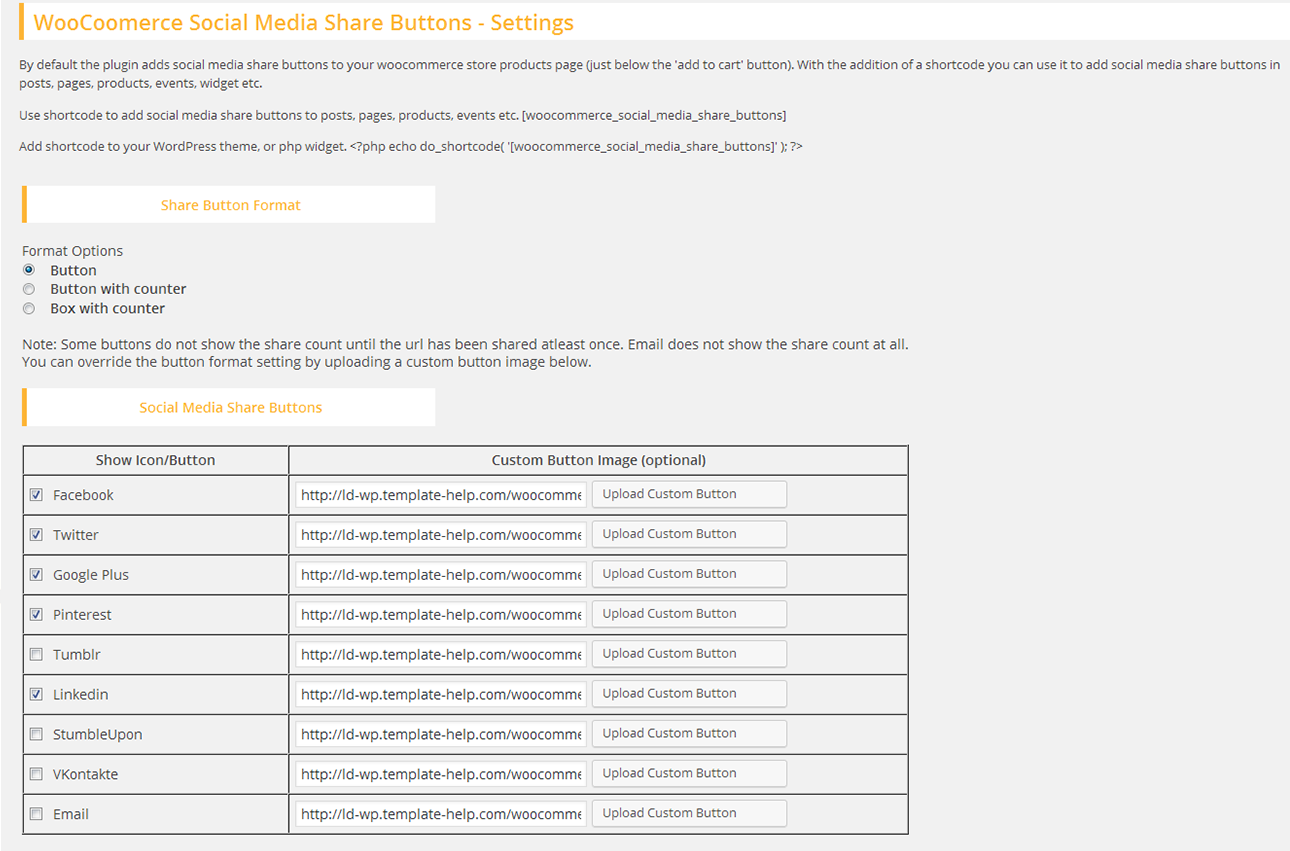
Installing Woocommerce Social Media Share Buttons
Download the Woocommerce Social Media Share Buttons plugin.(woocommerce-social-media-share-buttons.zip file)
Extract the zip file to the '/wp-content/plugins/' directory
Activate the plugin through the 'Plugins' menu in the WordPress admin area
Configur your share buttons via the 'Share Buttons' menu option in the left admin area menu
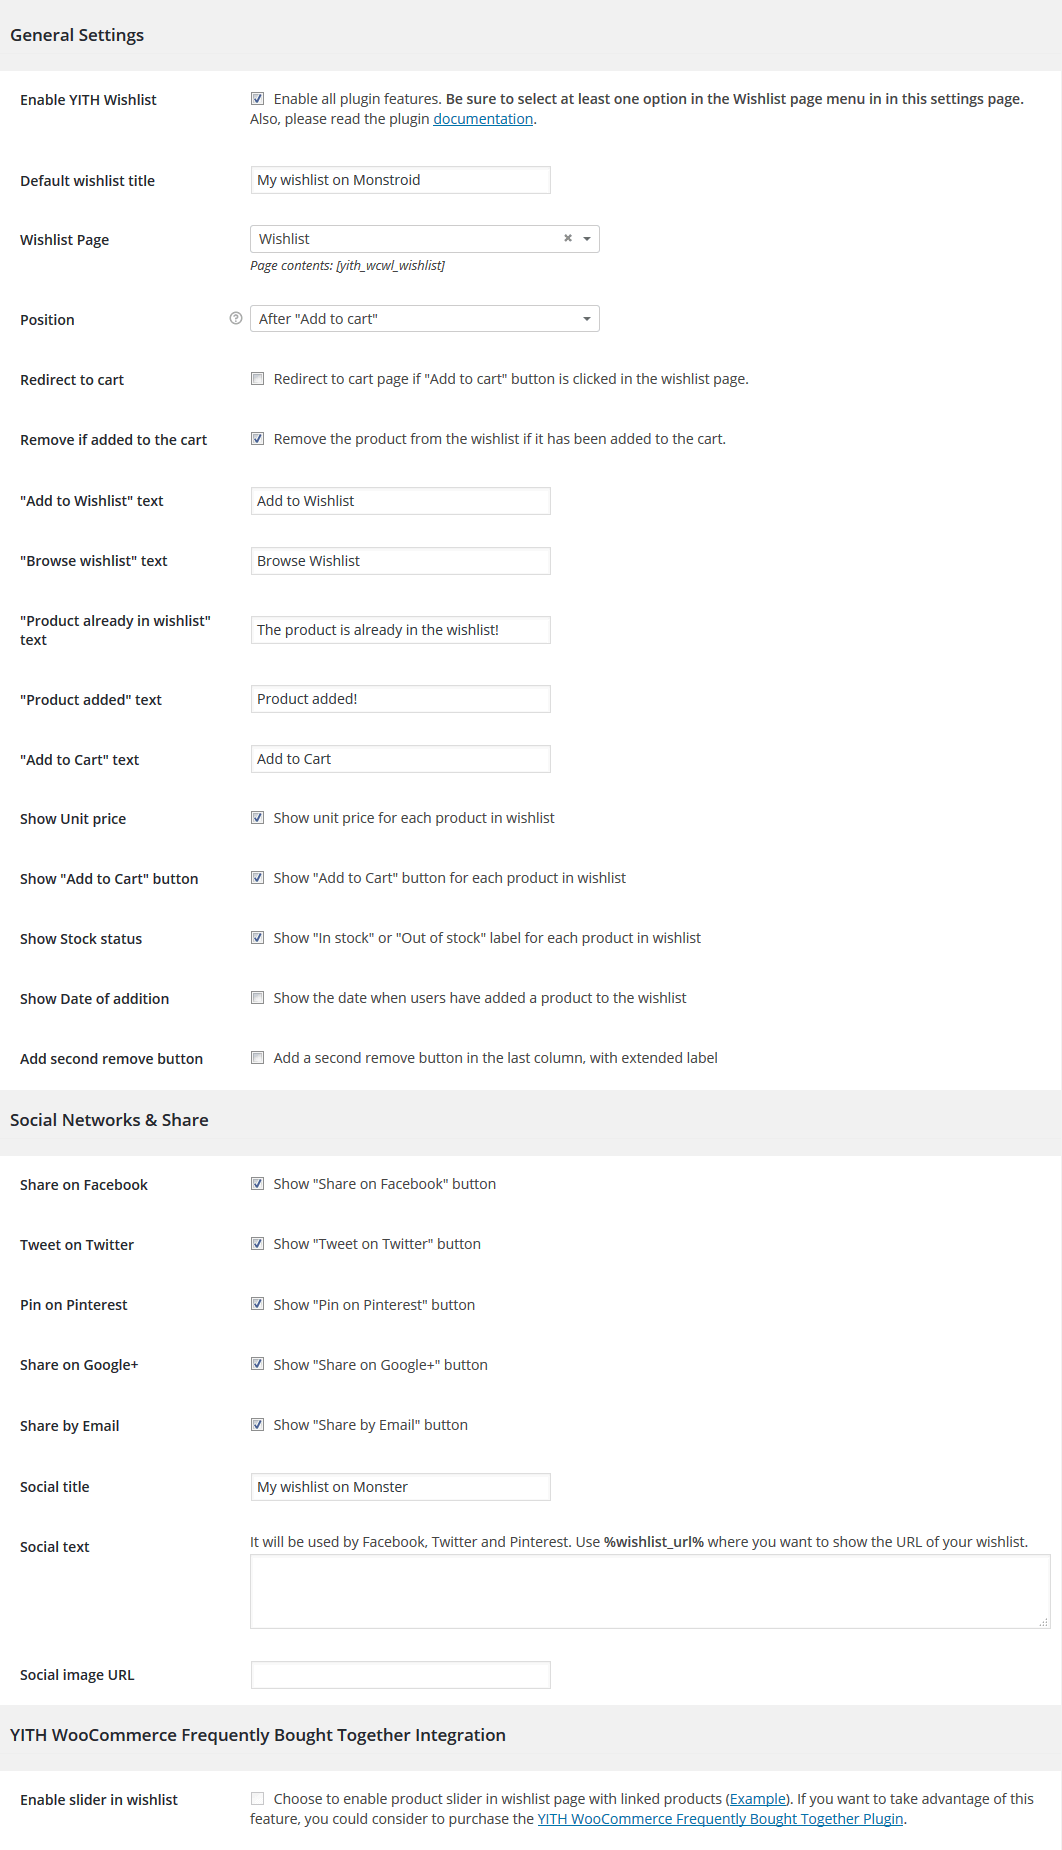
Yith WooCommerce wishlist
What can really make the difference in conversions and amount of sales? Without a doubt it is a freedom to share your own wishlist, even on social networks, increasing indirect sales: can you imagine the sales volume you can generate during holidays or birthdays, when relatives and friends will be looking for the wishlist of your clients to buy a gift?
Offer your visitors a chance to add the products of your WooCommerce store to a wishlist page. With YITH WooCommerce Wishlist you can add a link in each product detail page, in order to add the products to the wishlist page. The plugin will create the specific page and the products will be added to this page, and afterwards, you can add them to the cart or completely remove.
WPML configuration
WPML consists of several modules. The basic module turns WordPress sites multilingual. Other modules help with an enhanced translation process, string translation, media translation and other functions.
You can learn about the different modules in the WPML Core and Addons page.
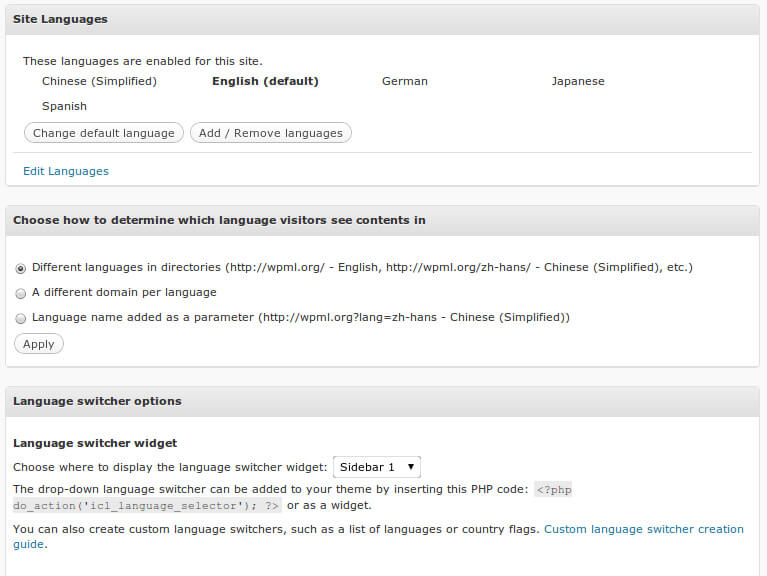
After you enable WPML, you’ll see a Multilingual Widget in the Admin Dashboard. This widget provides access to the different functions in WPML. You can also access them through the WPML menu.
- Languages – Determine the site’s languages and control how different language contents are organized.
- Theme and plugins localization – Choose between the traditional .mo files or using WPML’s String Translation.
- Navigation – Control the appearance of site-wide navigation based on WordPress pages.
- Sticky links – This is an essential function for running full websites with WordPress. It guarantees that links between pages can never break.
Translating Site Content
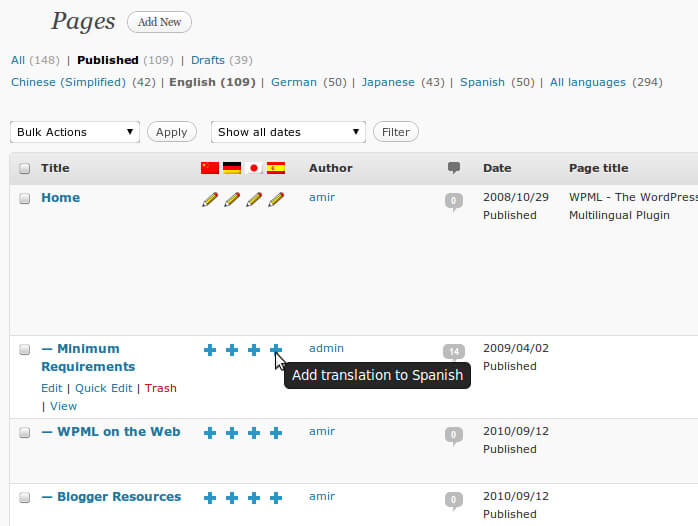
WPML creates different posts, pages and custom types for translations and connects them together. This means that every page has its own title, body and meta-fields.
WPML offers two ways for translating content:
- Manually, by clicking on the + icons
- Using WPML’s Translation Management module
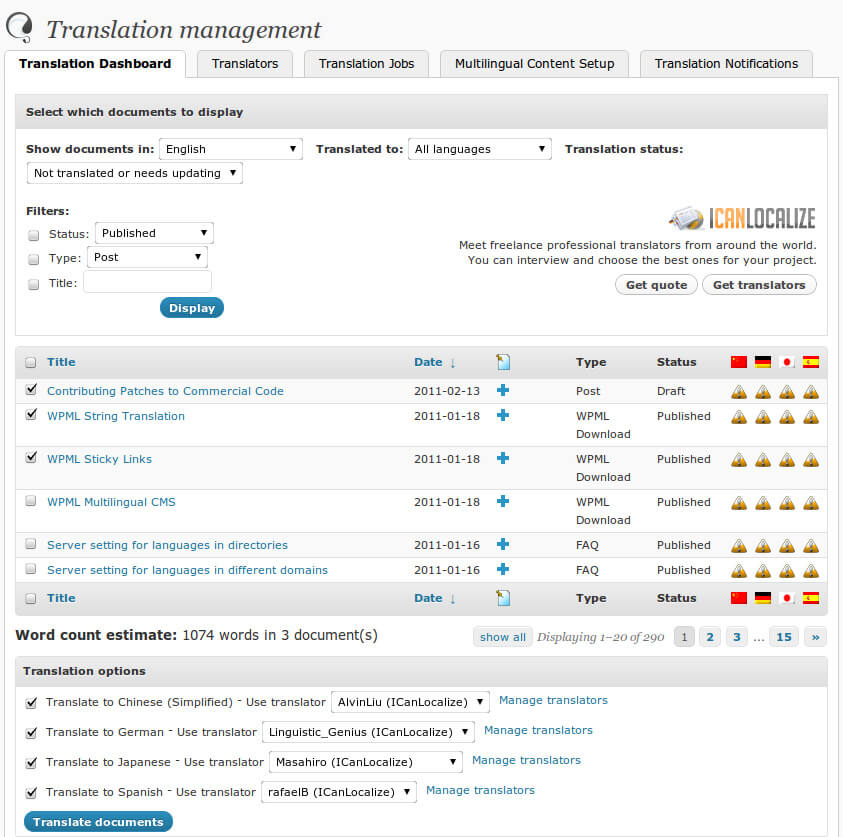
Translation Dashboard
TM WoooCommerce Package
This custom designed plugin from TemplateMonster. It brings a set of widgets that will help you make the site work to the full potential.
Navigate to the "Widgets" section to customize the listed widgets.
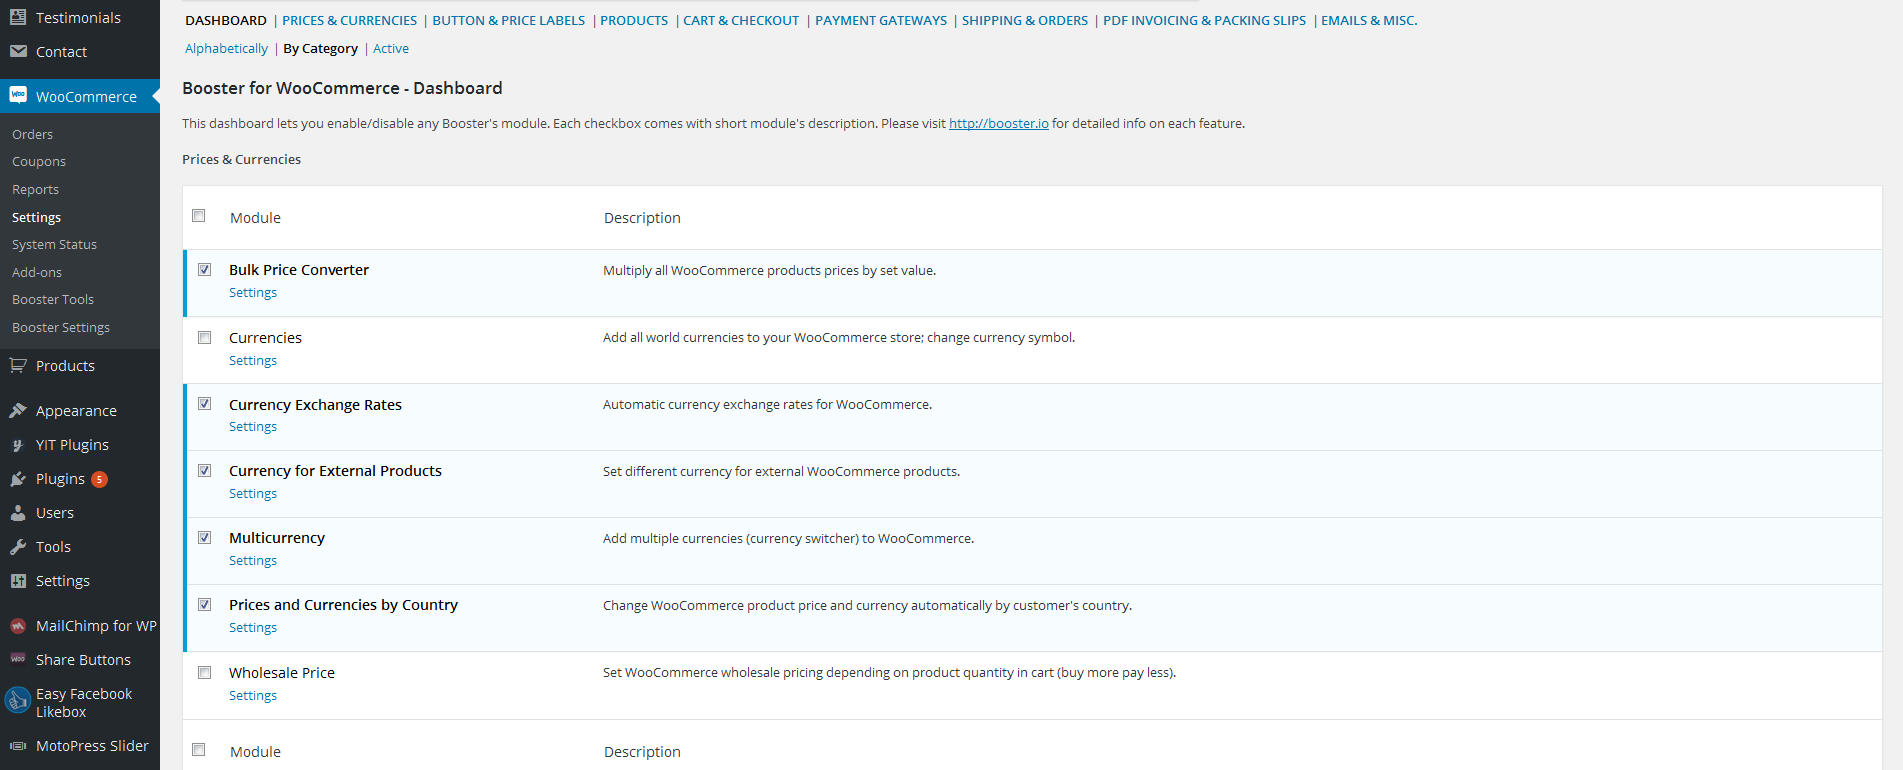
Booster for WooCommerce
The Booster for WooCommerce plugin provides you with an additional set of tools and features that ensure enhanced functionality of the site and allow visitors to shop and navigate much easily.
Installation
- Upload the entire woocommerce-jetpack folder to the /wp-content/plugins/ directory
- Activate the plugin through the 'Plugins' menu in WordPress
- Go to WooCommerce > Settings > Booster
Features
Prices & Currencies
-
- Bulk Price Converter
- Multiply all WooCommerce products prices by set value.
-
- Currencies
- Add all world currencies to your WooCommerce store; change currency symbol.
-
- Currency Exchange Rates
- Automatic currency exchange rates for WooCommerce.
-
- Currency for External Products
- Set different currency for external WooCommerce products.
-
- Prices and Currencies by Country
- Change WooCommerce product price and currency automatically by customer's country.
-
- Multicurrency
- Add multiple currencies (currency switcher) to WooCommerce.
-
- Wholesale Price
- Set WooCommerce wholesale pricing depending on product quantity in cart (buy more pay less).
Button & Price Labels
-
- Add to Cart Labels
- Change text for Add to Cart button by WooCommerce product type, by product category or for individual products.
-
- Call for Price
- Create any custom price label for all WooCommerce products with empty price.
-
- Custom Price Labels
- Create any custom price label for any WooCommerce product.
-
- More Button Labels
- Set WooCommerce "Place order" button label.
Products
-
- Crowdfunding
- Add crowdfunding products to WooCommerce.
-
- Product Add to Cart
- Set any local url to redirect to on WooCommerce Add to Cart. Automatically add to cart on product visit.
-
- Product Cost Price
- Save WooCommerce product purchase costs data for admin reports.
-
- Product Images
- Customize WooCommerce products images, thumbnails and sale flashes.
-
- Product Info
- Add additional info to WooCommerce category and single product pages.
-
- Product Input Fields
- WooCommerce product input fields.
-
- Product Listings
- Change WooCommerce display options for shop and category pages: show/hide categories count, exclude categories, show/hide empty categories.
-
- Product Tabs
- Add custom product tabs - globally or per product. Customize or completely remove WooCommerce default product tabs.
-
- Related Products
- Change displayed WooCommerce related products number, columns, order, relate by tag and/or category, or hide related products completely.
-
- SKU
- Generate WooCommerce SKUs automatically.
-
- Sorting
- Add more WooCommerce sorting options or remove all sorting including default.
Cart & Checkout
-
- Cart
- Add custom info to WooCommerce cart page. Add empty cart button.
-
- Checkout Core Fields
- Customize WooCommerce core checkout fields. Disable/enable fields, set required, change labels and/or placeholders.
-
- Checkout Custom Fields
- Add custom fields to WooCommerce checkout page.
-
- Checkout Custom Info
- Add custom info to WooCommerce checkout page.
-
- Empty Cart Button
- Add and customize "Empty Cart" button to cart page.
-
- Mini Cart
- Customize WooCommerce mini cart widget.
Payment Gateways
-
- Custom Gateways
- Add multiple custom payment gateways to WooCommerce.
-
- Gateways Currency
- Currency per WooCommerce payment gateway.
-
- Gateways Fees
- Enable extra fees for WooCommerce payment gateways.
-
- Gateways Icons
- Change or completely remove icons (images) for any (default or custom) WooCommerce payment gateway.
-
- Gateways Min/Max
- Add min/max amounts for WooCommerce payment gateways to show up.
-
- Gateways by Country
- Set countries to include/exclude for WooCommerce payment gateways to show up.
-
- Gateways per Category
- Show payment gateway only if there is product of selected category in WooCommerce cart.
Shipping & Orders
-
- Address Formats
- Set address format in WooCommerce orders on per country basis. Force base country display.
-
- Order Custom Statuses
- Custom statuses for WooCommerce orders.
-
- Order Numbers
- WooCommerce sequential order numbering, custom order number prefix, suffix and number width.
-
- Orders
- Minimum WooCommerce order amount; orders auto-complete.
-
- Shipping
- Hide WooCommerce shipping when free is available.
-
- Shipping Calculator
- Customize WooCommerce shipping calculator on cart page.
PDF Invoicing & Packing Slips
-
- PDF Invoicing
- WooCommerce Invoices, Proforma Invoices, Credit Notes and Packing Slips.
-
- PDF Invoicing
- WooCommerce Invoices, Proforma Invoices, Credit Notes and Packing Slips.
Emails & Misc.
-
- Admin Tools
- Booster for WooCommerce debug and log tools.
-
- Emails
- Add custom emails. Add another email recipient(s) to all WooCommerce emails.
-
- EU VAT Number
- Collect and validate EU VAT numbers on WooCommerce checkout. Automatically disable VAT for valid numbers. Add all EU countries VAT standard rates to WooCommerce.
-
- General
- Separate custom CSS for front and back end. Shortcodes in Wordpress text widgets.
-
- Old Slugs
- Remove old WooCommerce products slugs.
-
- Reports
- WooCommerce stock, sales, customers etc. reports.
-
- WPML
- Booster for WooCommerce basic WPML support.