WOOstroid
Plugins
The plugins used in this template are described here.
Cherry Sidebars
Cherry Sidebars allows to create and manage your own dynamic sidebars.
Cherry Sidebars is a lightweight plugin for creating multiple widget areas, and outputting them on posts or pages of your choosing. Now you don't have to limit yourself to one widget area, instead you can create as many as you like. Group your widgets into multiple areas, and pick which one you want to display for a certain post or page.
The plugin can be useful for certain posts or pages, where you want your content to be different, for example you need to add a banner ad to your popular post, or a bio section to the 'About' page. Cherry Sidebars would be a perfect tool for this task.
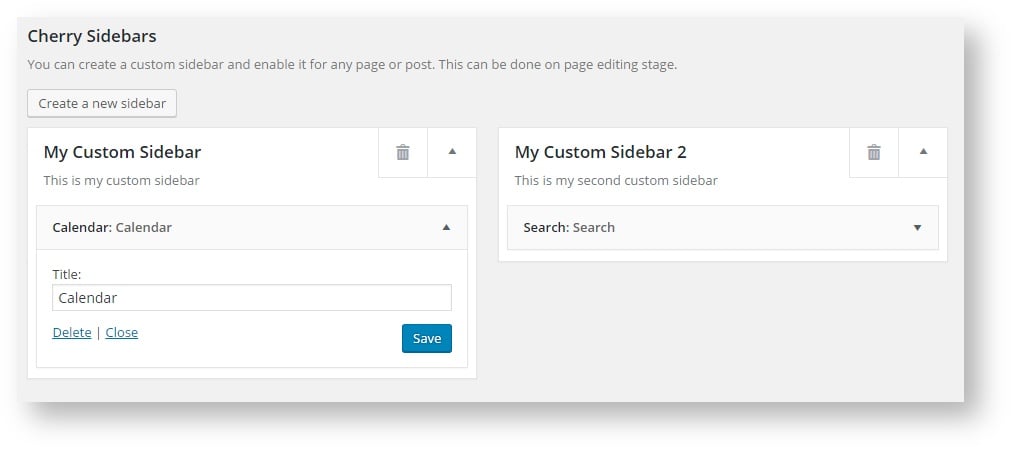
An example of two custom sidebars with the widgets.
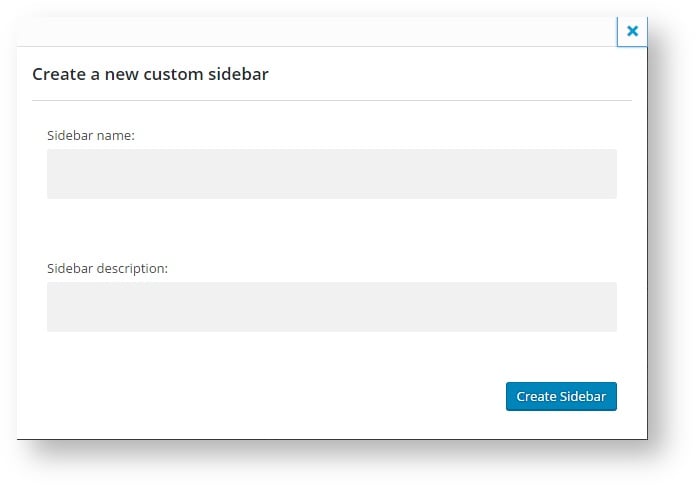
The form for creating a sidebar. Simply specify name and description for your new sidebar.
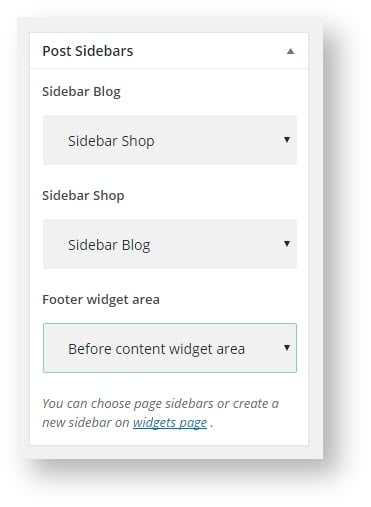
This is the sidebar manager panel that allows you to assign one of the sidebars to the current page.
Cherry PopUps
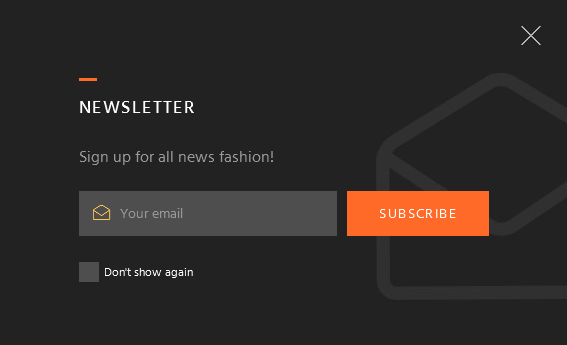
This plugin is used to display popups of your projects on a site page. It has its own settings page which allows to save, reset and set default options. With its help you will be able to create various kinds of popups and manage them the way you like.
Popup Options
Each popup has its own settings which are gathered in Popup settings.
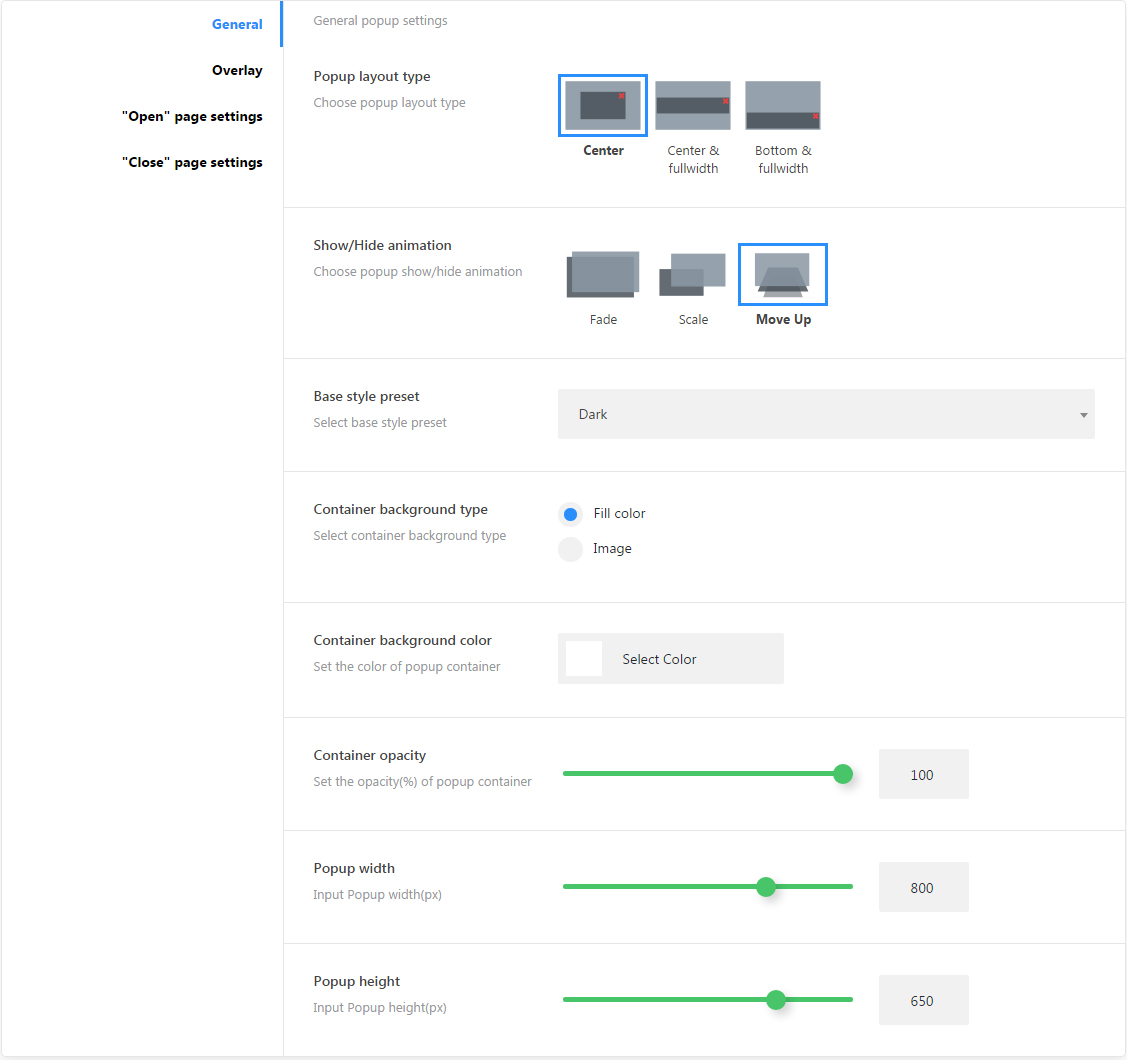
General Settings Sections
-
- Popup layout type
- Choose popup layout type (center, fullwidth center, fullwidth bottom)
-
- Show/Hide animation
- Choose show/hide animation effects(fade, scale, move up)
-
- Base style preset
- Popup controls base color styles(default, light, dark, blue, red)
-
- Container background type
- Container background type (fill-color, image)
-
- Container background color
- Popup container background color
-
- Container background image
- Choose container background image
-
- Container opacity
- Container opacity (active for fill-color type)
-
- Popup width
- Popup container width
-
- Popup height
- Popup container height
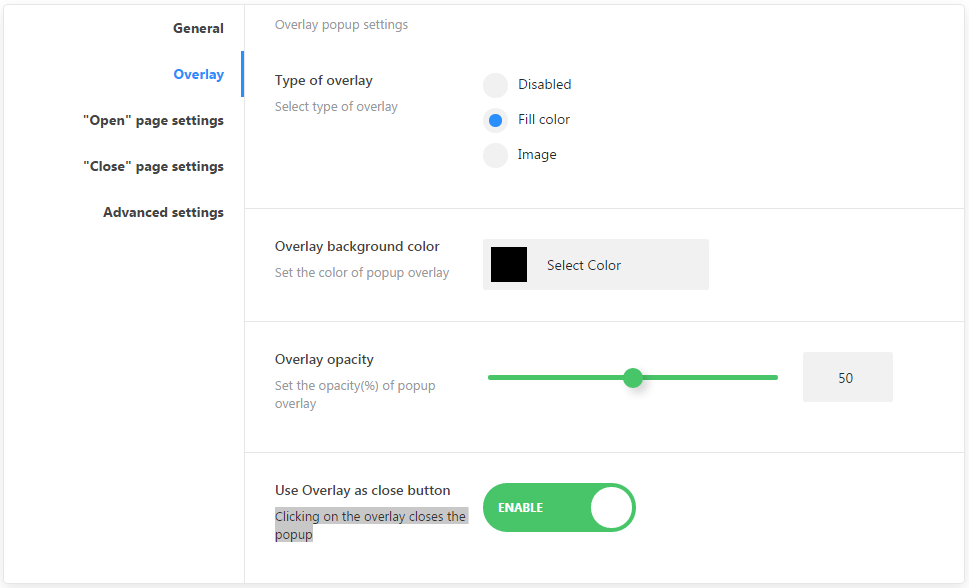
Overlay
-
- Type of overlay
-
- disabled
- Disable the overlay
-
- fill-color
- Background fill-cover
-
- Overlay background color
- Choose overlay background color
-
- Overlay opacity
- Set overlay background opacity
-
- Overlay background image
- Set overlay background image
-
- Use Overlay as close button
- Clicking on the overlay closes the popup
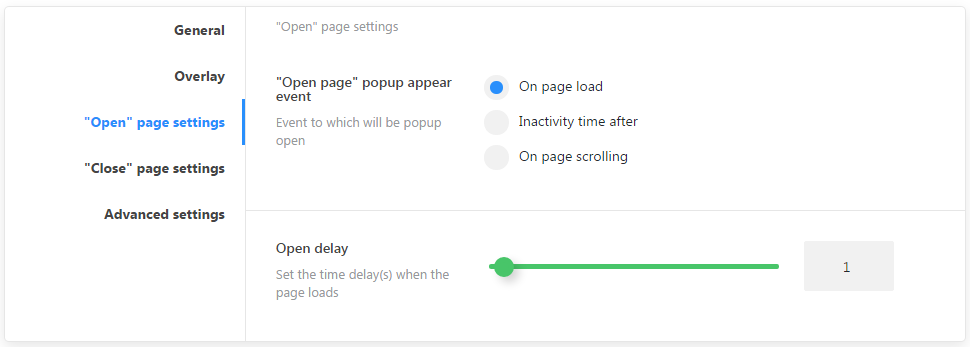
"Open" page settings
-
- "Open page" popup appear event
- Set an event to which a popup will be opened
-
- Close page popup display in
- Pages identification for the default popup
-
- On page load
- page complete load event
-
- Inactivity time after
- Inactivity time event
-
- On page scrolling
- Page scrolling progress event
-
- Open delay
- Set the time delay when the page loads
"Close" page settings

"Close page" popup appear event
-
- Outside viewport
- Set top border for mouse cursor
-
- Page unfocus
- User sets focus on another page or app in the system
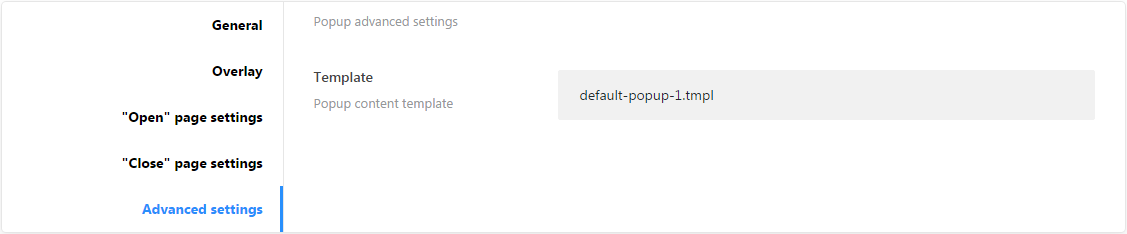
Advanced settings
-
- Template
- Template file for content
Popup Identification on static page
If standard settings are not enough for identifying a visible section, there is a metablock that allows you to add a particular popup to any static page. To find the metablock open any page of your website in the and scroll down to the Cherry Popups section.
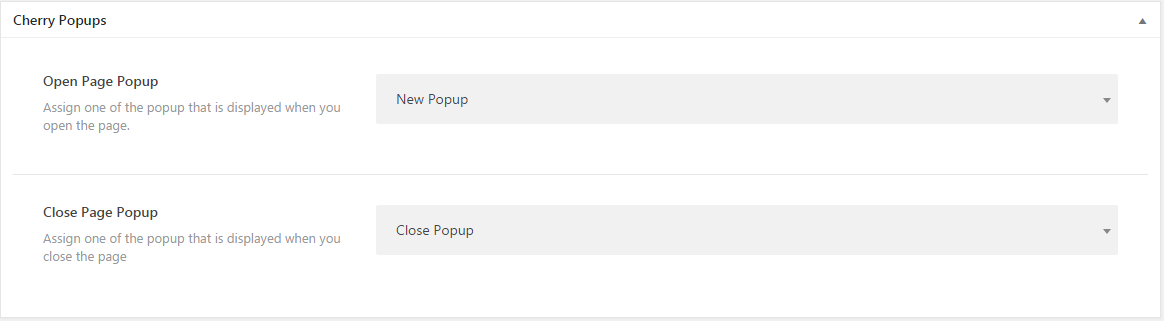
You can assign 2 popups simultaneously. One at the beginning, and another one at the end of section.
Plugin Options
All plugin settings are gathered in Popups > Settings
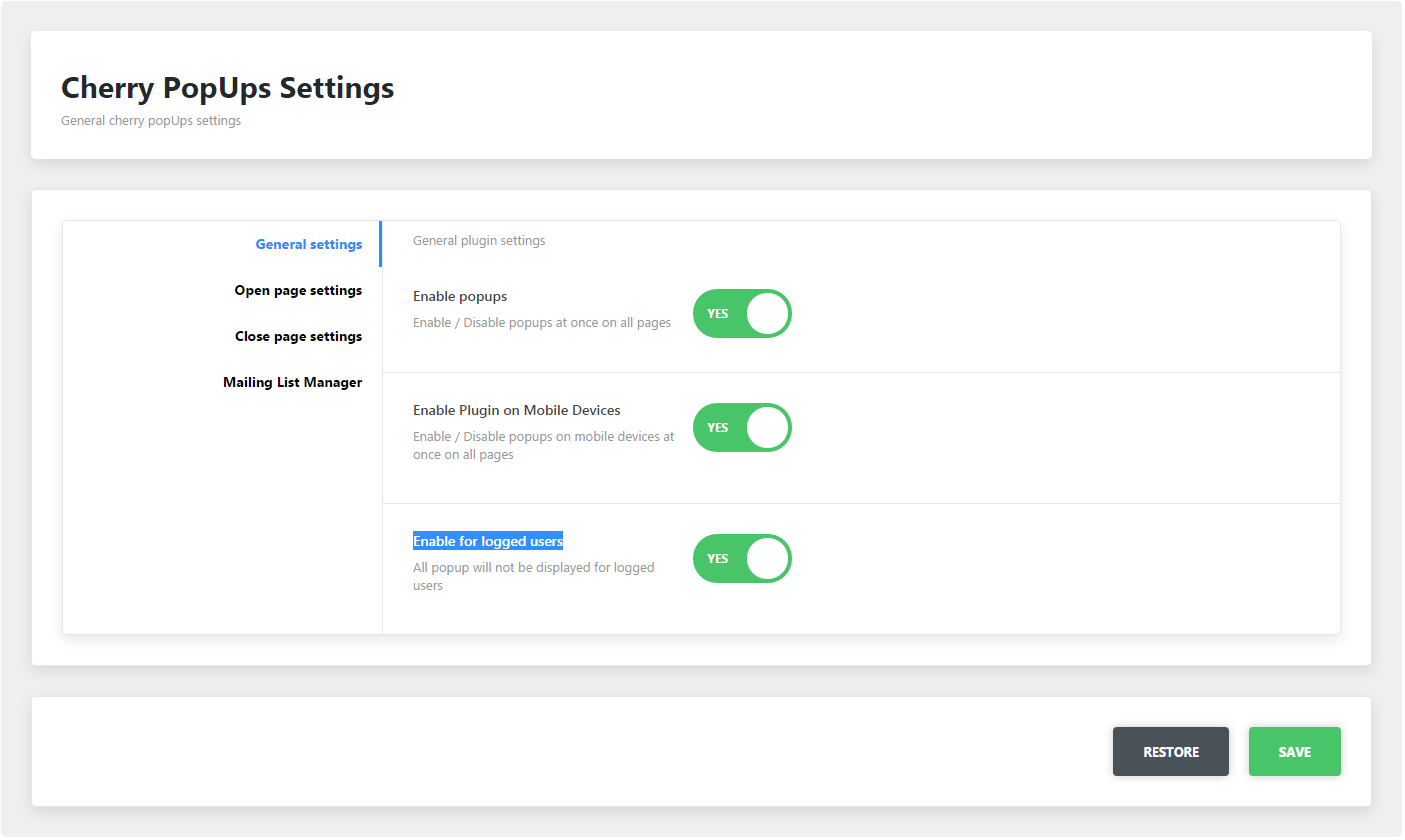
General Settings Sections
Here ou can define where and for which users to display popups.
-
- Enable popups
- Enable/disable plugin functions globally for the site
-
- Enable Plugin on Mobile Devices
- Show/hide popups on mobile devices
-
- Enable for logged users
- Show/hide popups for logged in users
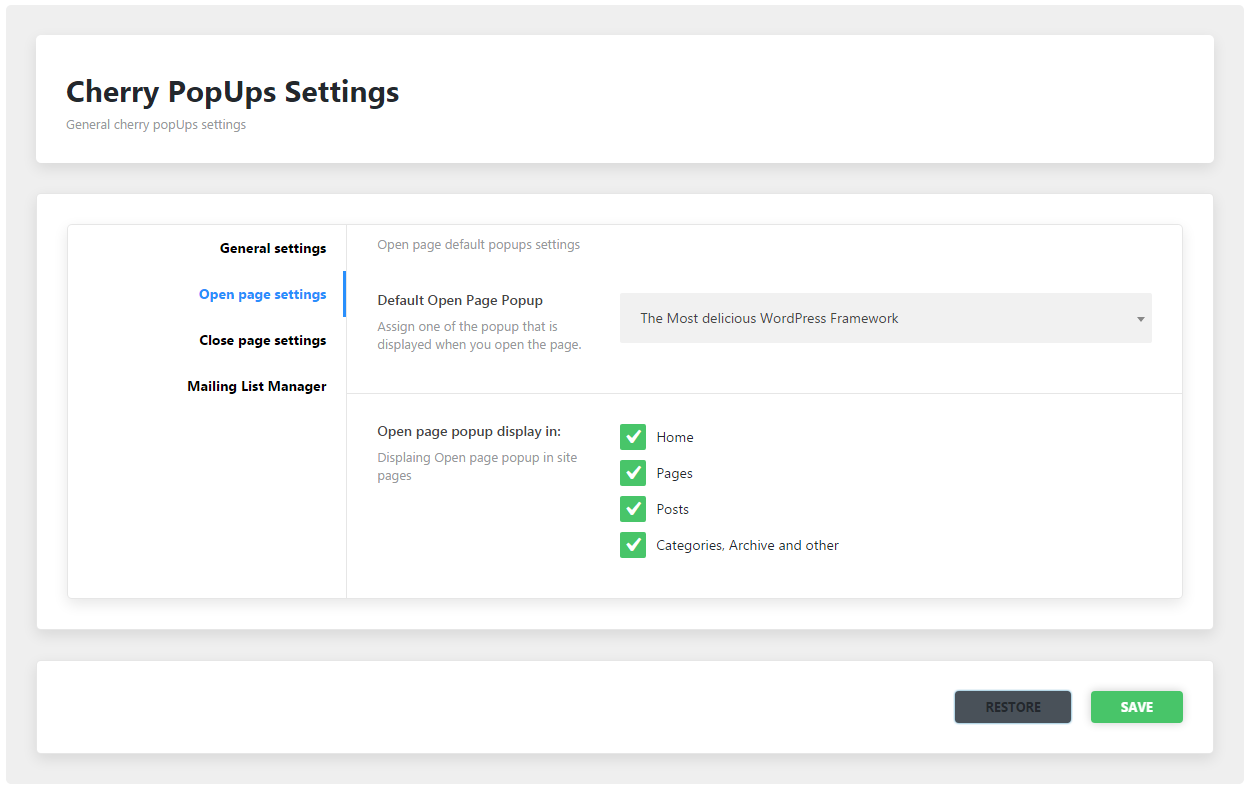
Open page Settings
-
- Default Open Page Popup
- Default open page popup identity
-
- Open page popup display in
- Pages identification for the default popup
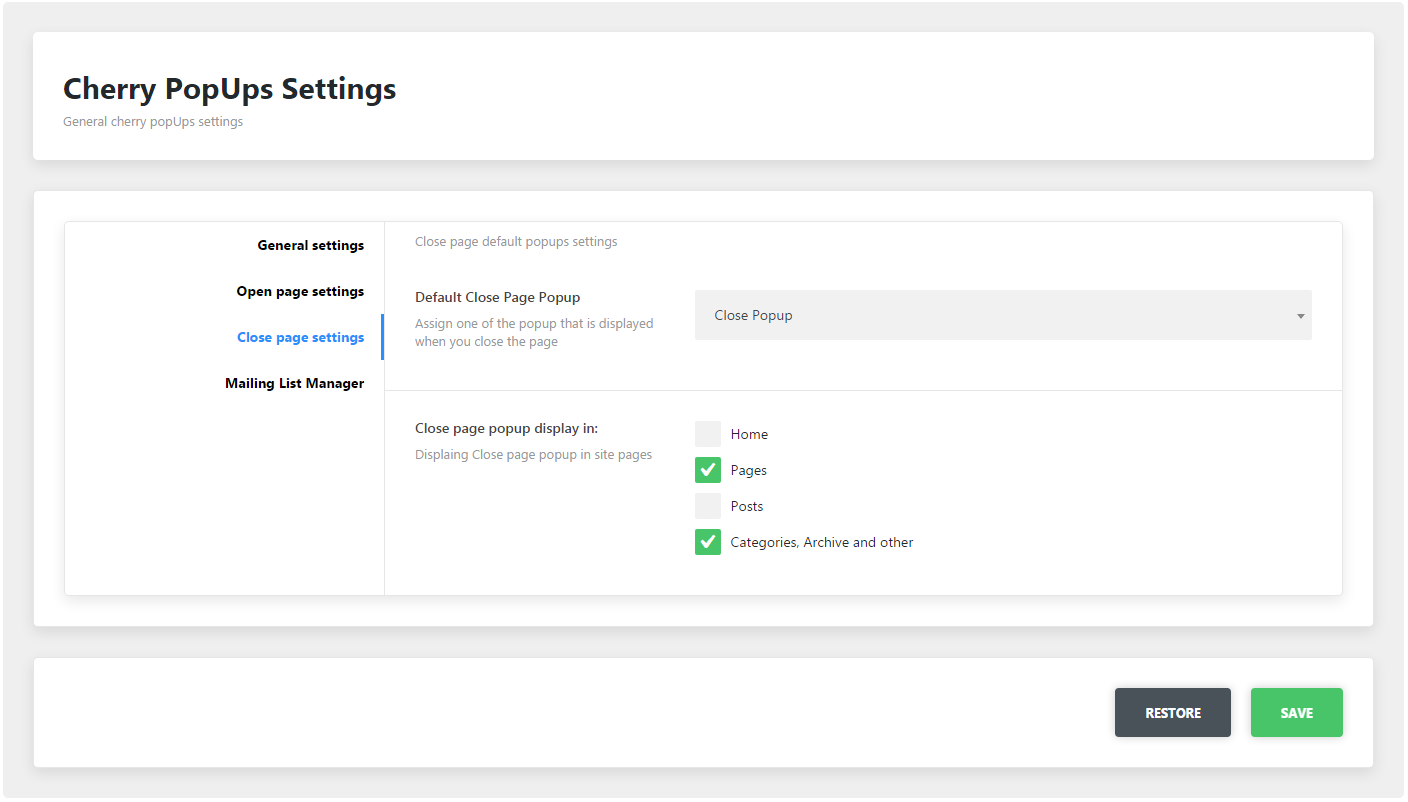
Close page settings
-
- Default Close Page Popup
- Default close page popup identity
-
- Close page popup display in
- Pages identification for the default popup
Mailing List Manager
MailChimp mailing list settings
-
- MailChimp API key
- Add MailChimp Api key (how to get)
-
- MailChimp list ID
- Profile list id (how to get)
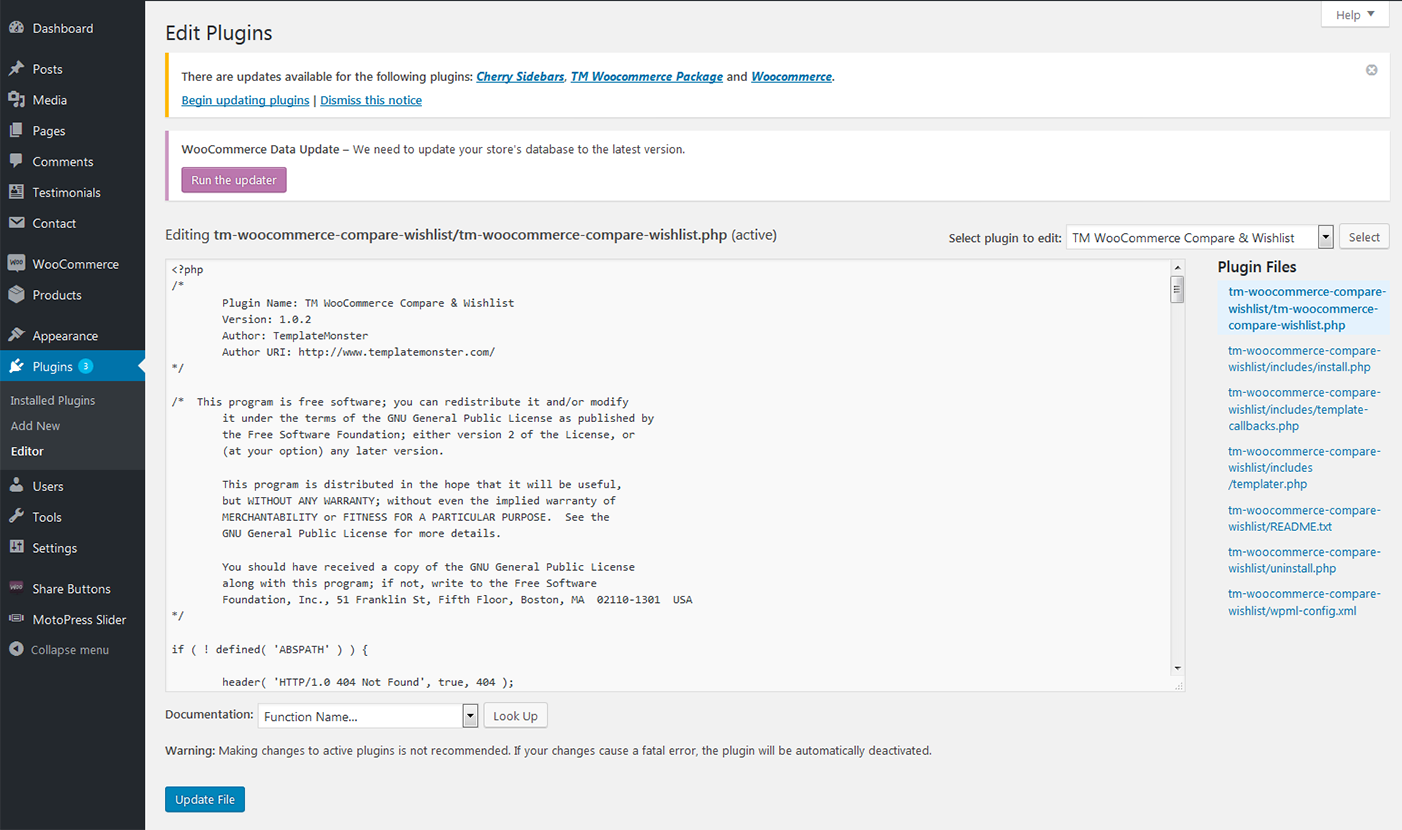
TM WooCommerce Compare Wishlist
TM WooCommerce Compare Wishlist is designed as an addition to the TM WooCommerce Package and gives your store even more functionality. With its help visitors will be able to add various kinds of products to the wishlist and compare pages. The plugin actually combines two separate widgets and installs them with a single click of a mouse.
TM Mega Menu
This TM Mega Menu plugin allows you to create multi-column menu drop-downs. It also lets you display necessary information in the main menu.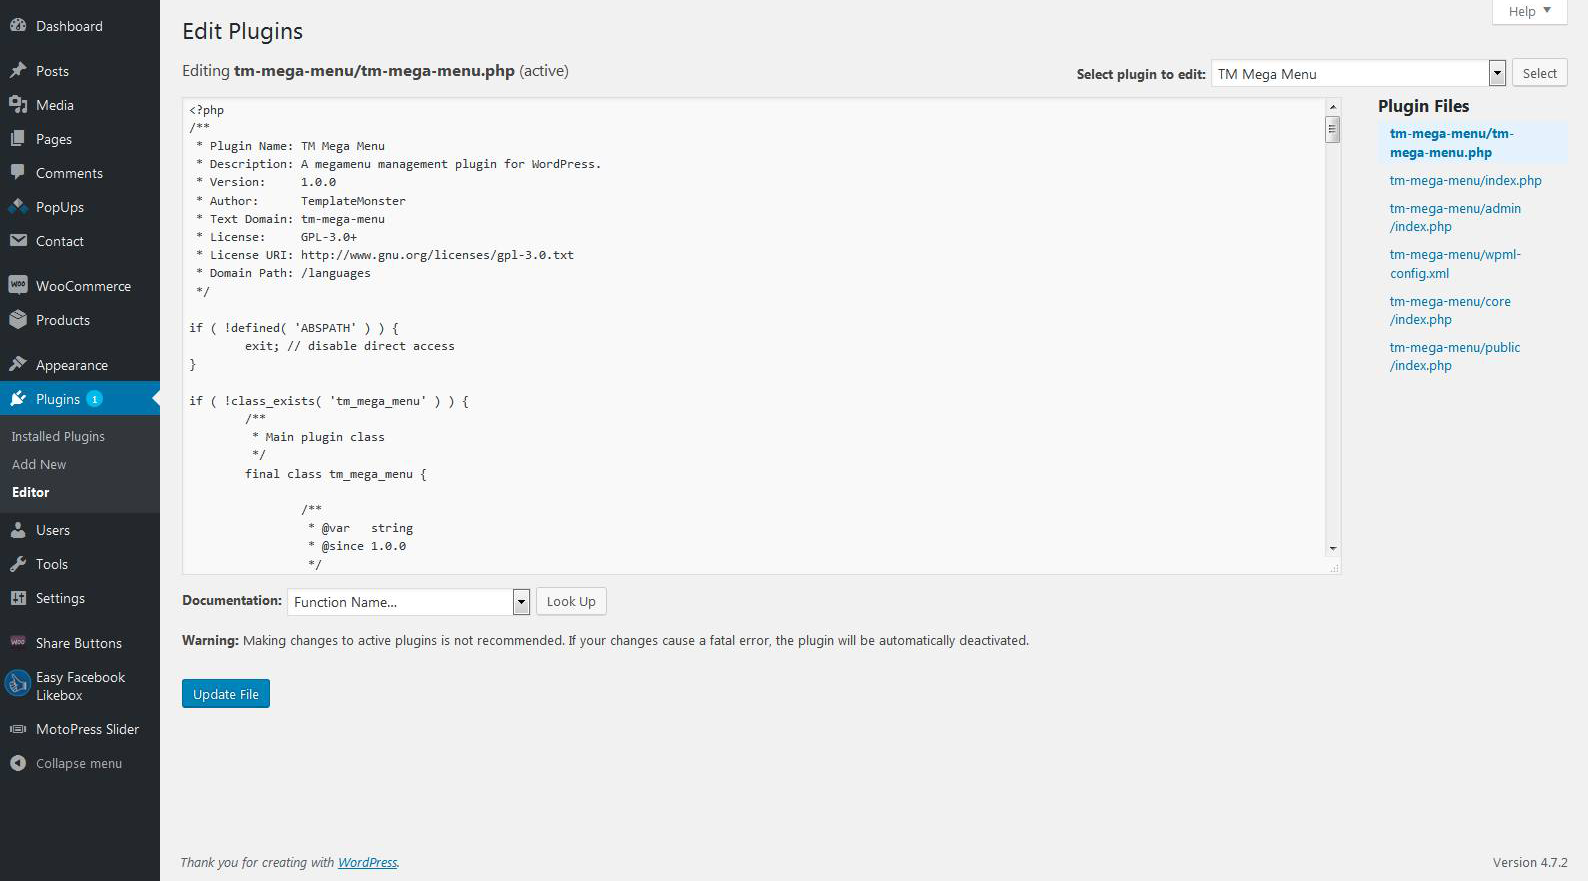
After the plugin is installed and activated, you can navigate to "Appearance > Menus" in the WordPress dashboard. Hover over the menu tab and click the Mega Menu icon.

-
- Enable Mega Menu for current item
- This property allows to enadle/disable Mega Menu for the items of the general menu strusture
-
- Settings
- This tab defines subitems behaviour: here you can group sub items to columns, define the number of columns, container columns number; here you can also set layout and position for the current Mega menu
-
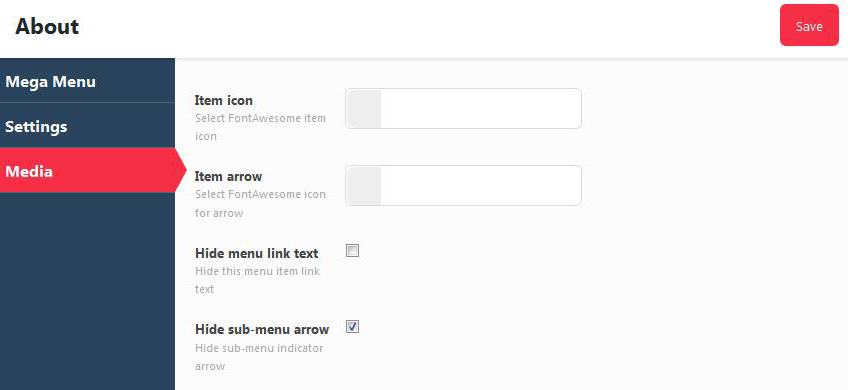
- Media
- This tab allows to select item icon, item arrow, show or hide menu link text, show or hide sub-menu arrow
TM WoooCommerce Package
This custom designed plugin from TemplateMonster. It brings a set of widgets that will help you make the site work to the full potential.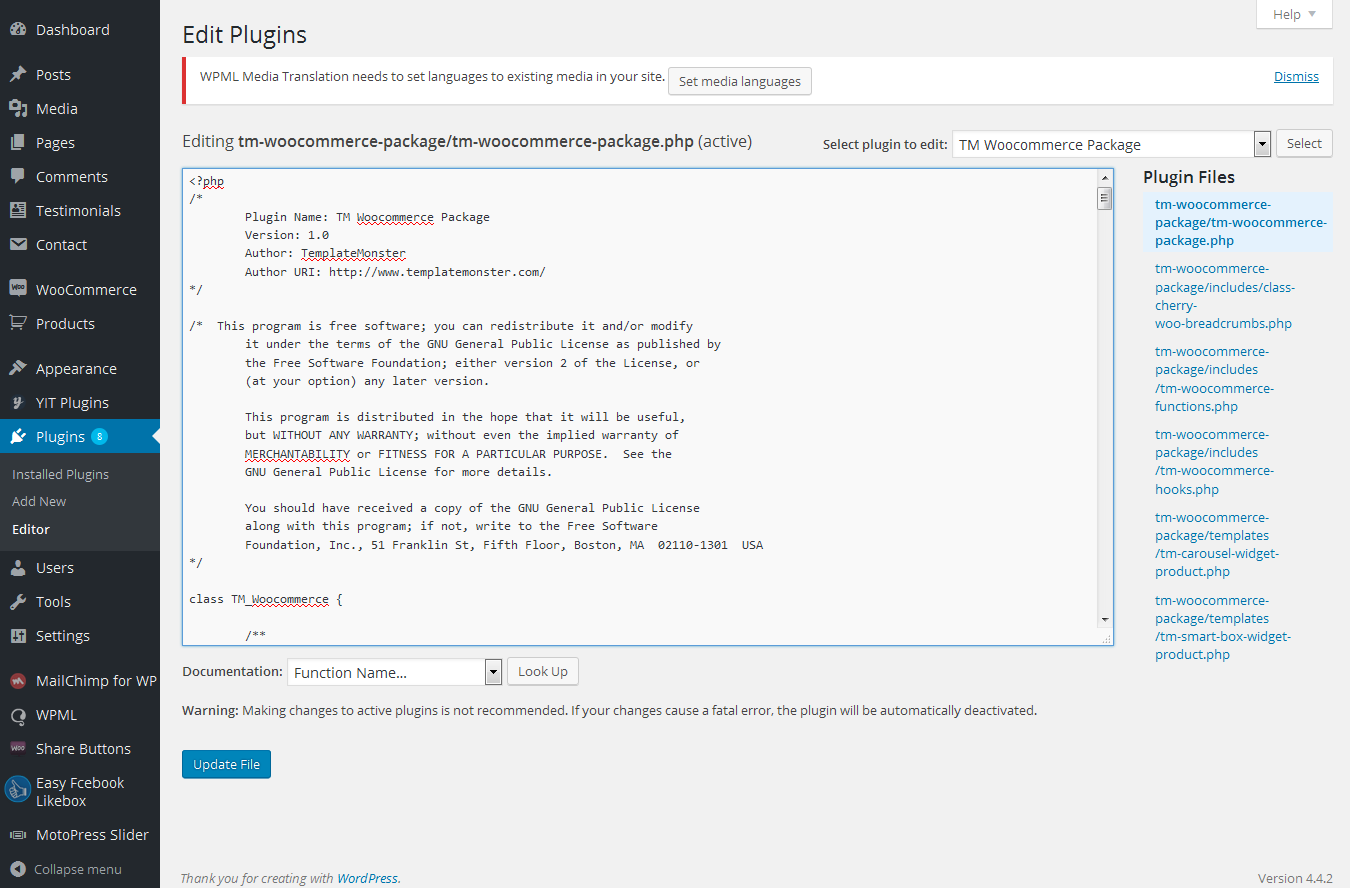
-
- About Store widget
-
- Banners Grid widget
-
- Custom Menu widget
-
- Product Categories widget
-
- Products Carousel widget
-
- Products Smart Box widget
TM Style Switcher
TM Style Switcher plugin allows creating themes with multiple appearance variations, and is, therefore, highly beneficial for web developers.
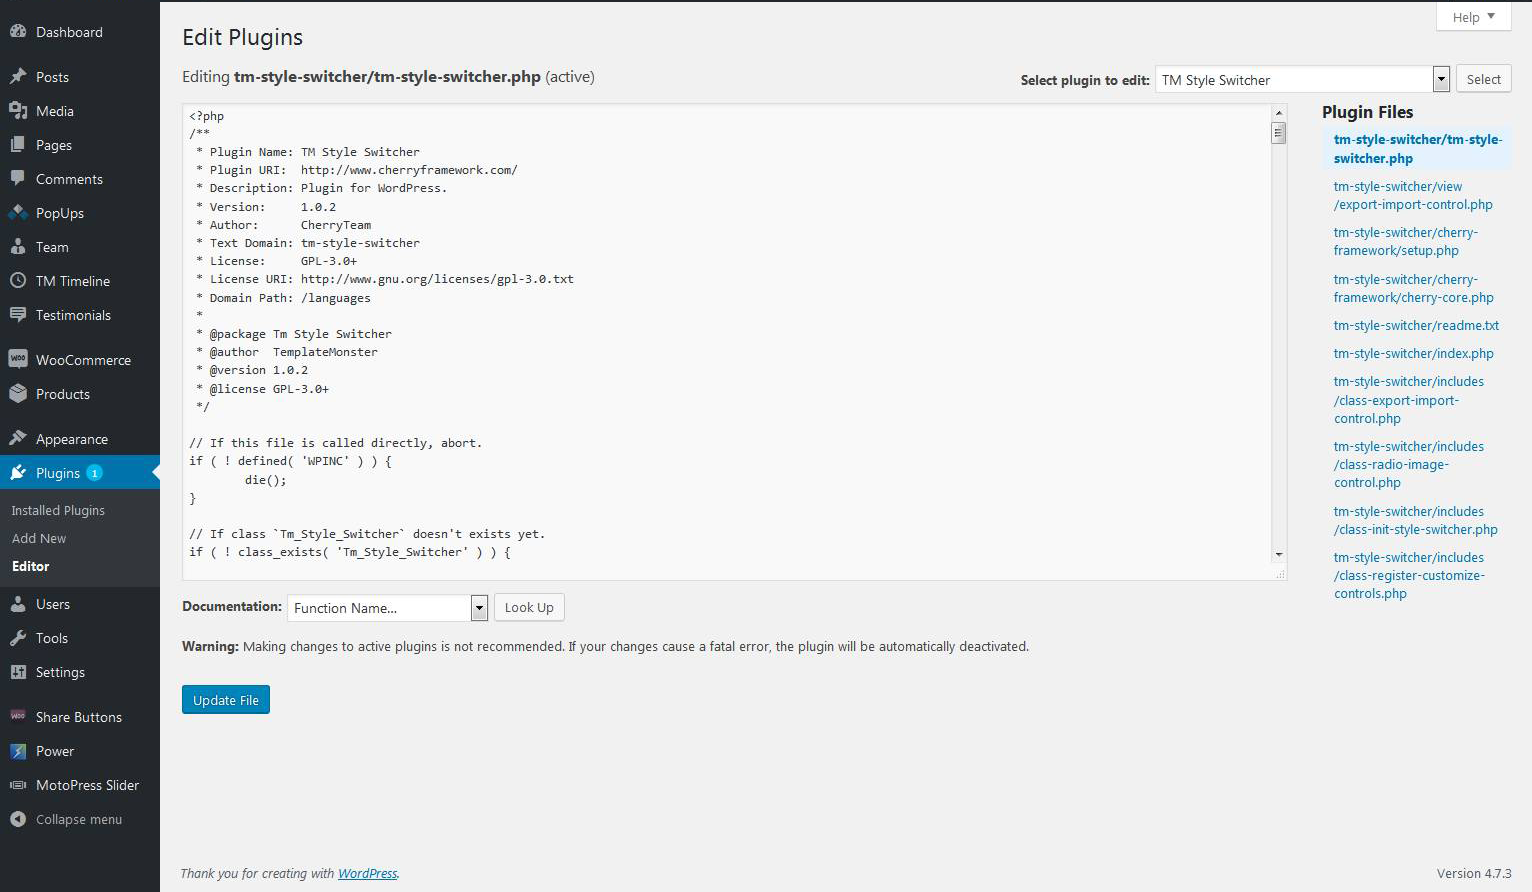
Features and settings
TM Style Switcher operates with settings of WordPress Live Customizer, that’s why it is compatible with just any contemporary theme.
To start working with the plugin go to the Live Customizer in the admin panel of your WordPress website and find the Export/Import tab. Here you will find the following options:
Export – generates and downloads a .JSON file with your current theme settings;
Import – uploads previously saved theme settings;
Restore Settings – restores the default settings that were active before the installation of the plugin.
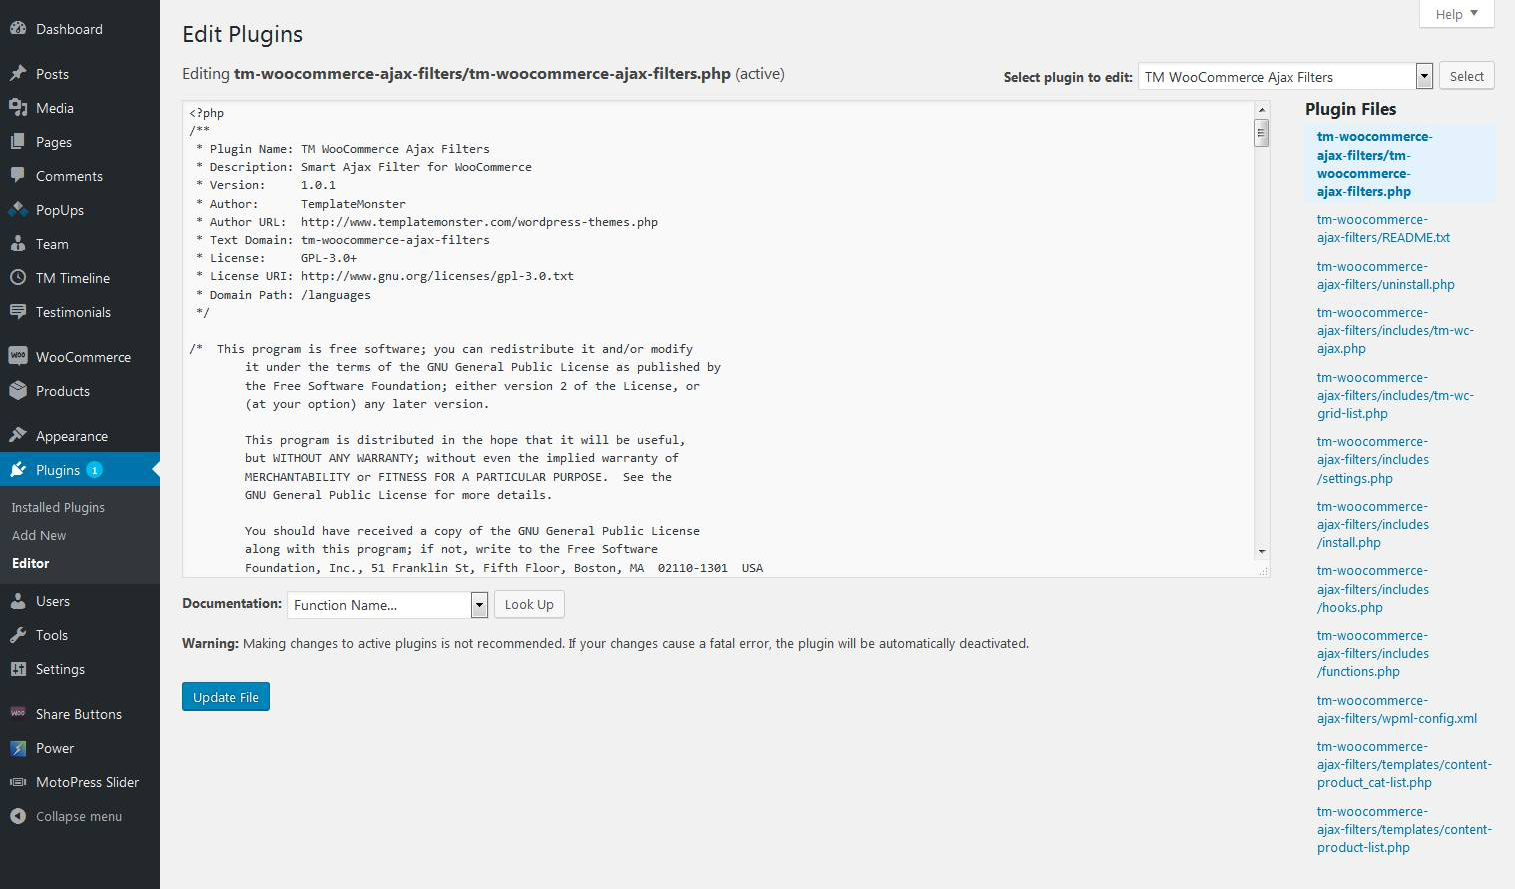
TM WooCommerce Ajax Filters
TM WooCommerce Ajax Filters plugin helps to implement the filters that are necessary to make the search of products much easier. When the Ajax Filter is working, the products will be displayed in accordance of the filter that was selected. The plugin makes it easy for customers to find all the necessary goods they are looking for.
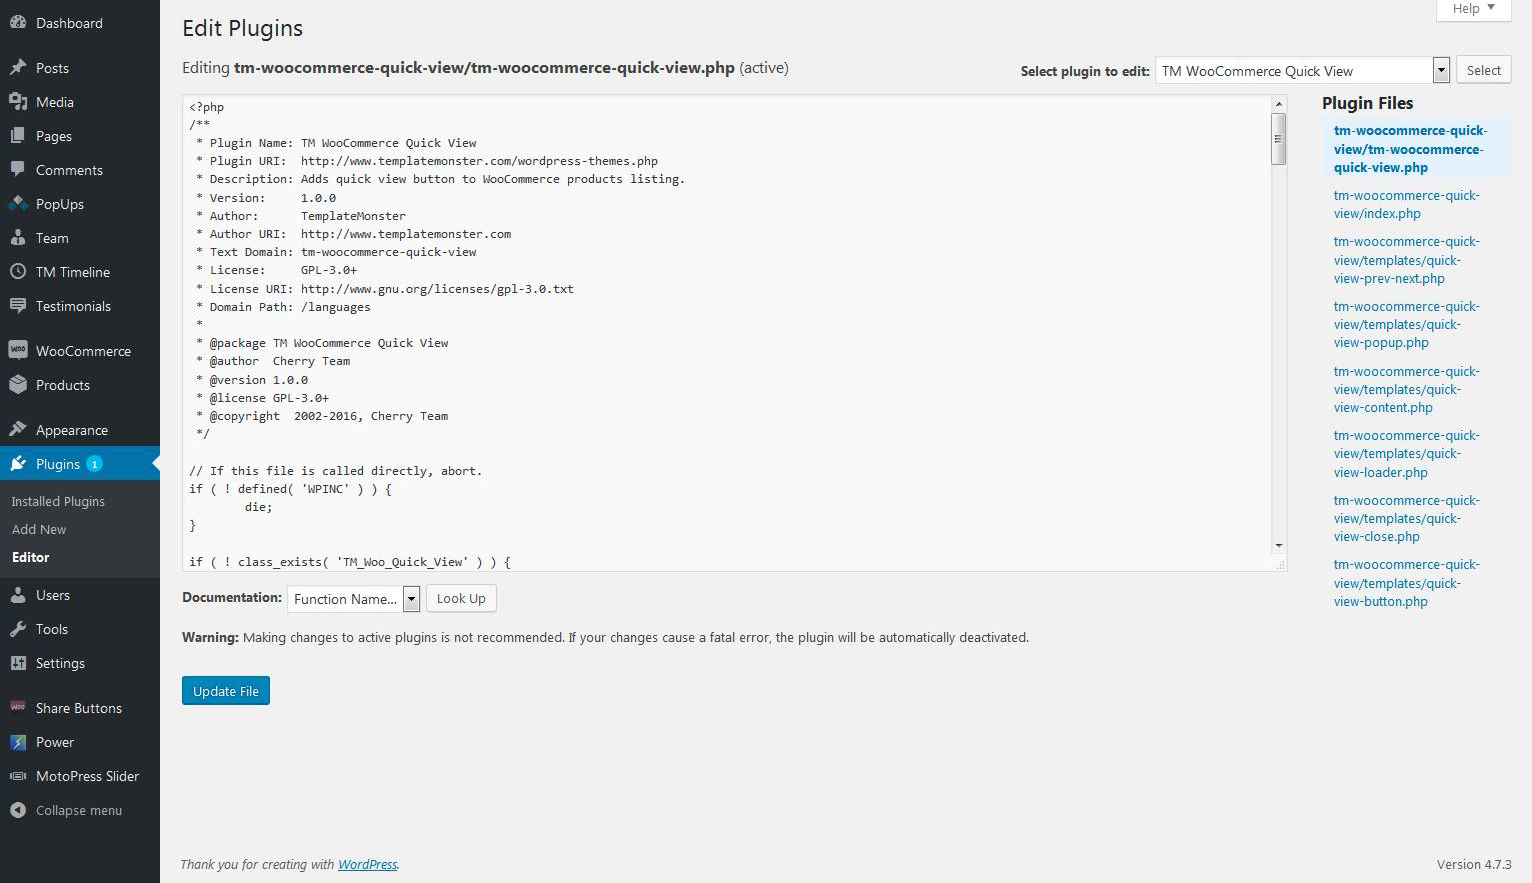
TM WooCommerce Quick View
TM WooCommerce Quick View plugin helps to add Quick View button to the blocks where WooCommerce products are listed. It makes the process of choosing the product much easier for the customers so that they can view the products much quicker.
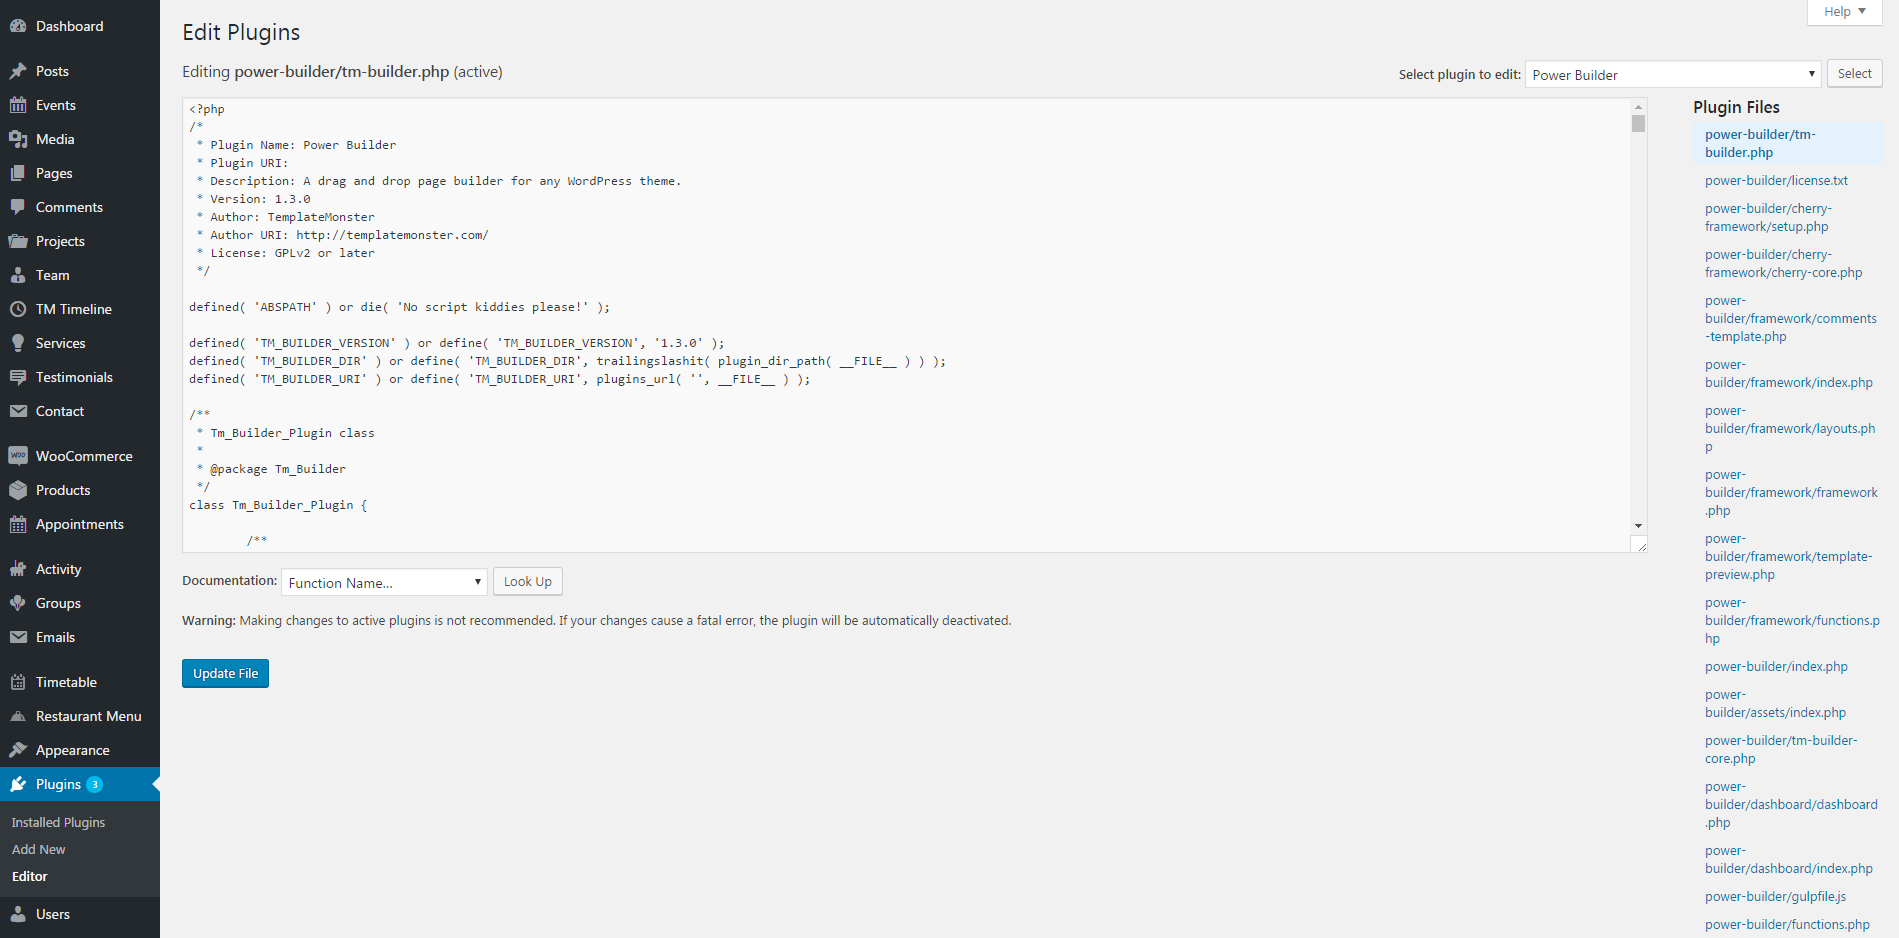
Power Builder
Power builder is a brand new drag and drop page builder from TemplateMonster. It allows even non developers to build top-quality and fully functional sites for any kind of business.
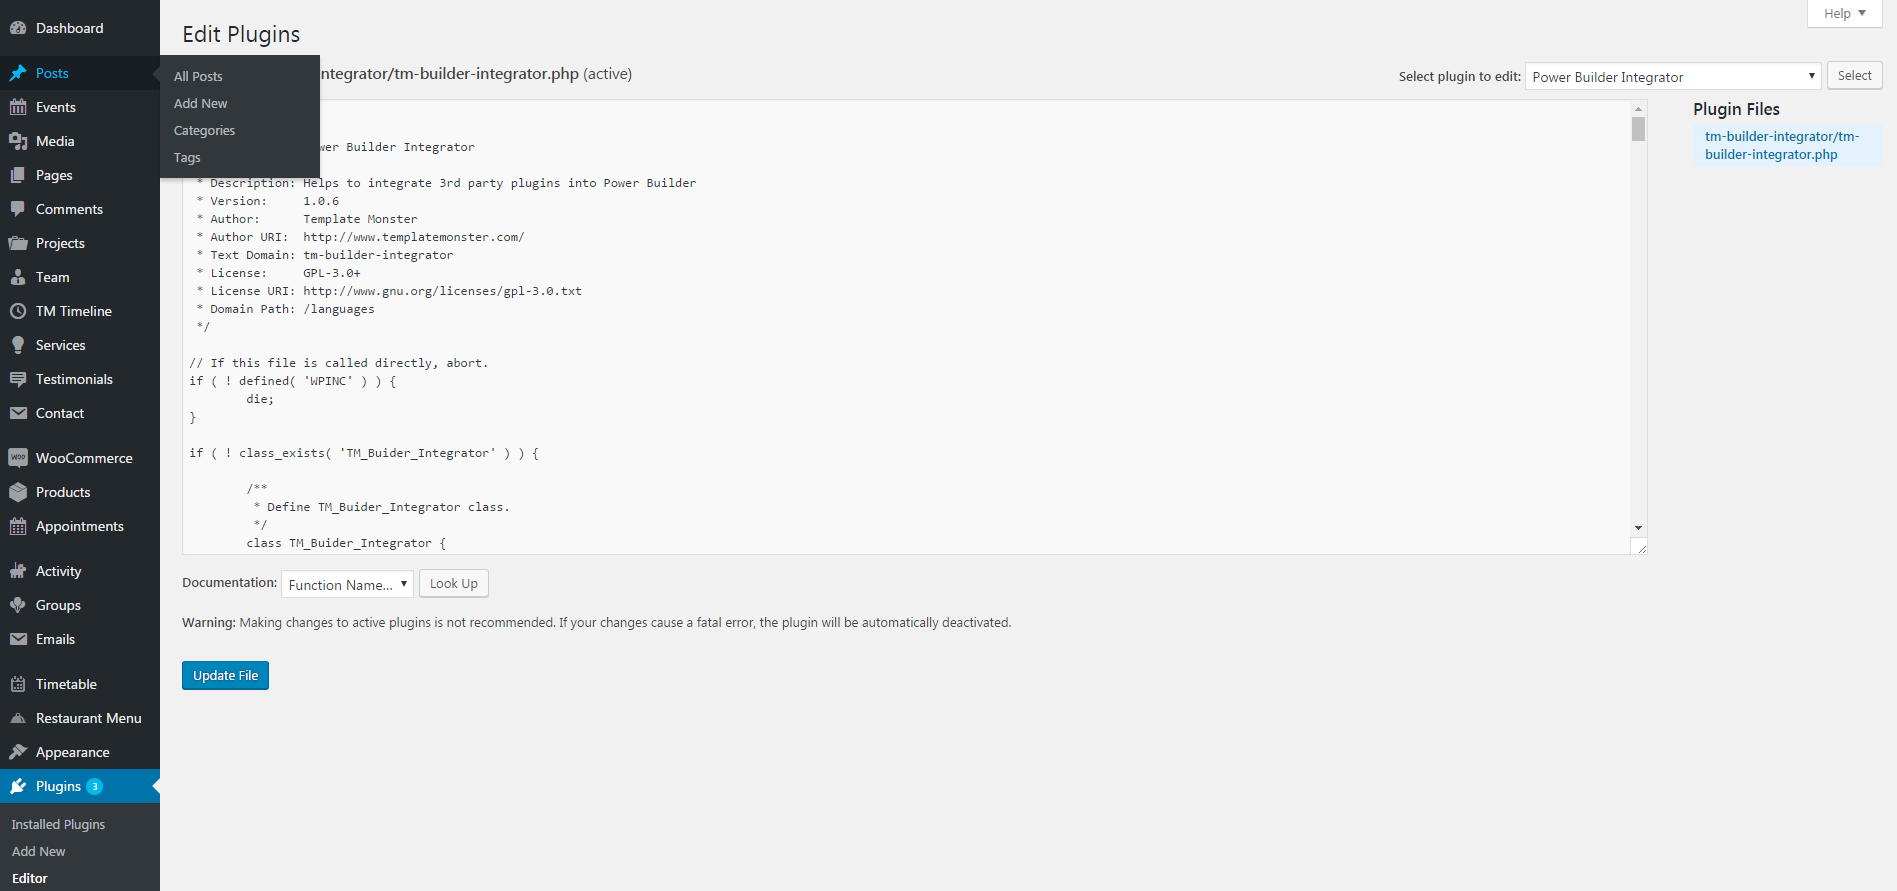
Power Builder Integrator
Power Builder Integrator is specially designed to help users integrate 3d party plugins into the Content Builder.
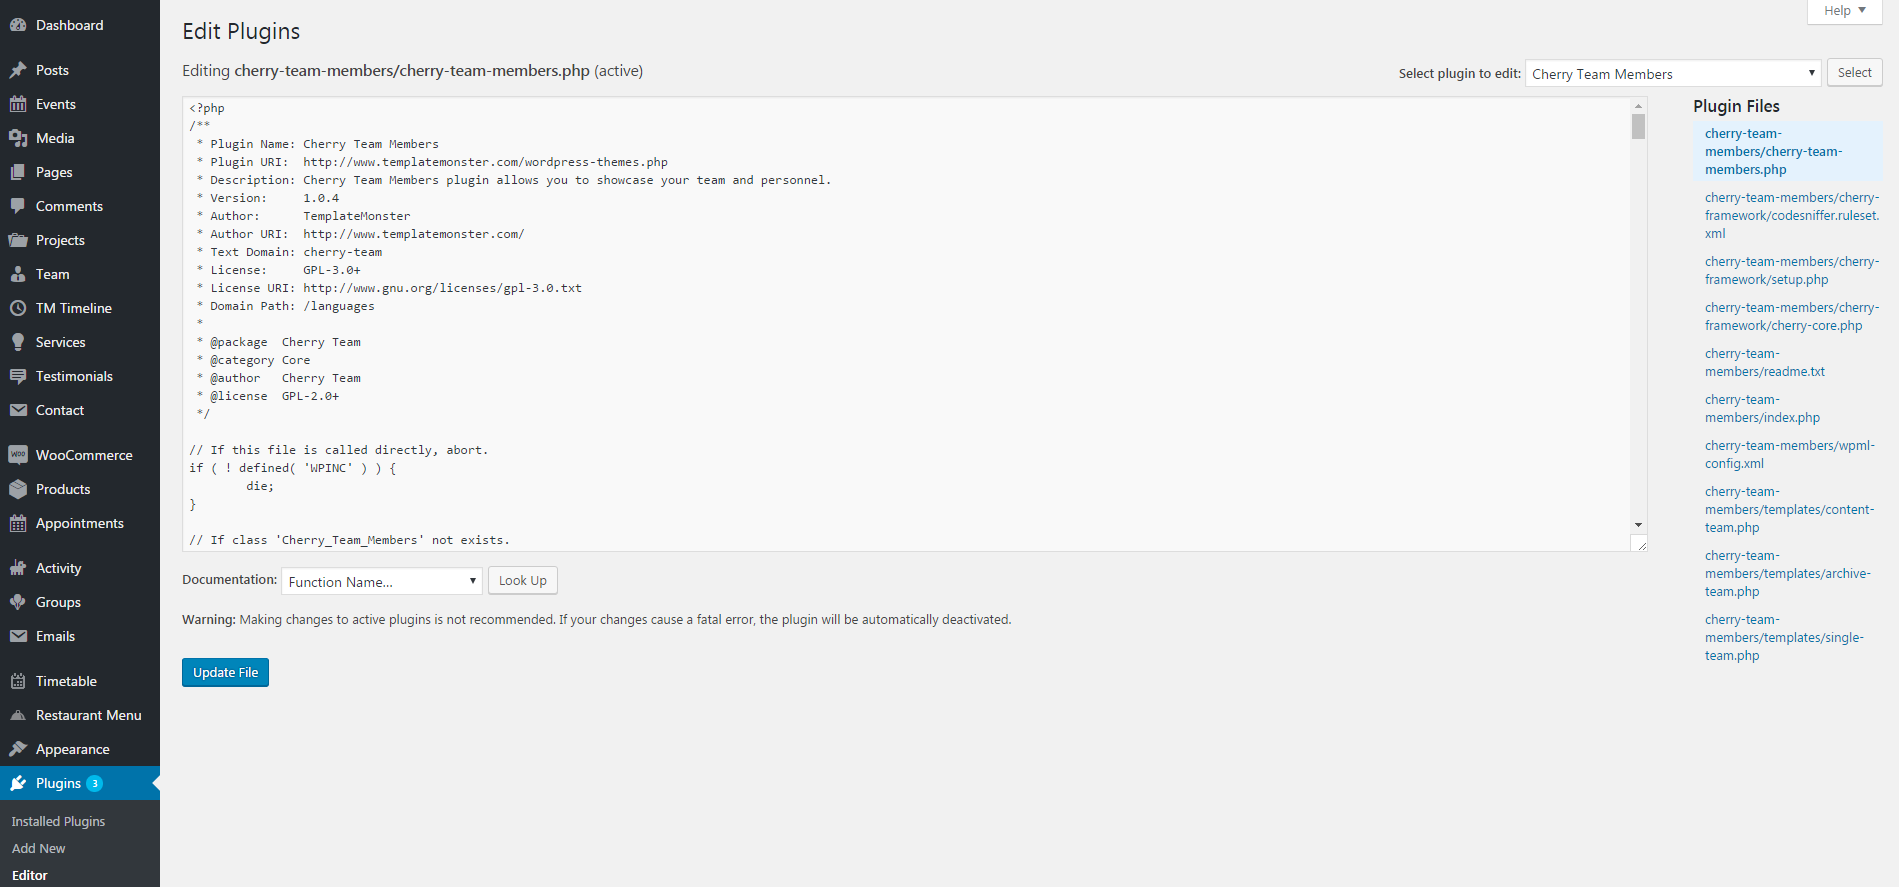
Cherry Team Members
The plugin Cherry Team Members is specially designed to make it easier for the businesses to display info about their team and personnel. It contains a full set of options and tools that will help adjust the profile in accordance with the skills and the position of the members.
Installing Cherry Team Members
So, let's take a closer look at how to install this plugin
Upload the Cherry Team Members plugin to your blog
Activate it
Enter your Cherry Team Members API key
Cherry Testimonials
Unveil customers' feedback on your services to look more reliable to prospects. This easy-to-use plugin Cherry Testimonials will let you add testimonials to any post and page of your site via shortcodes. With Cherry Testimonials, you can prove your testimonials aren't fake and were written by real people. Besides the testimonial itself, it's possible to reveal a lot of details about its author. They include his name, photo, email, company he works in, his position, and link to the site of that company or his personal blog. Note that you can hide the email, position, company's name, and photo, if a customer doesn't want you to reveal any of that data.

Installing Cherry Testimonials
So, let's take a closer look at how to install this plugin
Upload the Cherry Testimonials plugin to your blog
Activate it
Enter your Cherry Testimonials API key
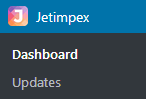
Jetimpex Dashboard
Jetimpex Dashboard is a service plugin. It will help you to update and backup template version easily.
After plugin installation it adds two new blocks: Dashdoard and Updates.
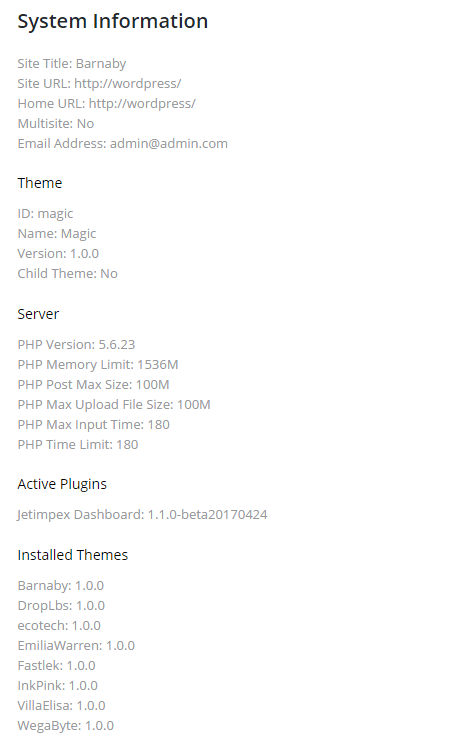
Dashboard
In this section you can find varying information about:
-
- System Information
- Here you can see your site URL, home URL, and multisite information
-
- Theme
- Here you can see your current theme ID, name, version, and whether you are using a child theme
-
- Server
- Here you can see server memory, post max size, upload max filesize, max input time and max execution time
-
- Active Plugins
- Here you can see your active plugin name
-
- Installed Themes
- Here you can see the name of your installed theme

-
- Helpful links
- Here you can find some helpful links which can guide you
-
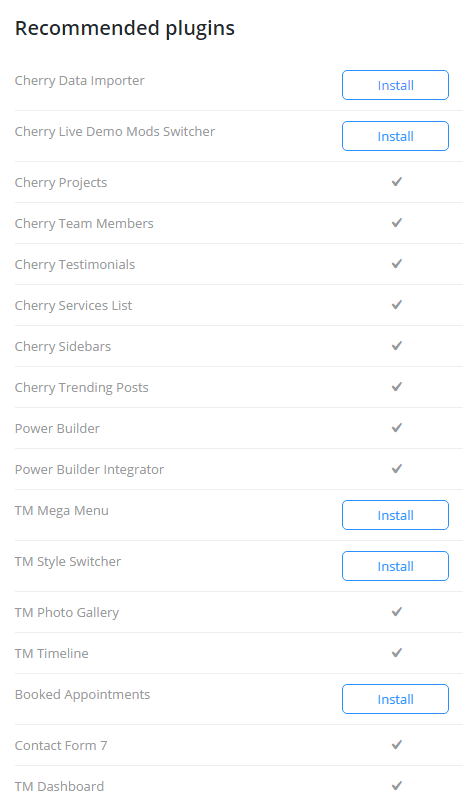
- Recommended plugins
- In this block you\'ll see a list of recommended plugins for your current theme, and you can install the missing ones easily
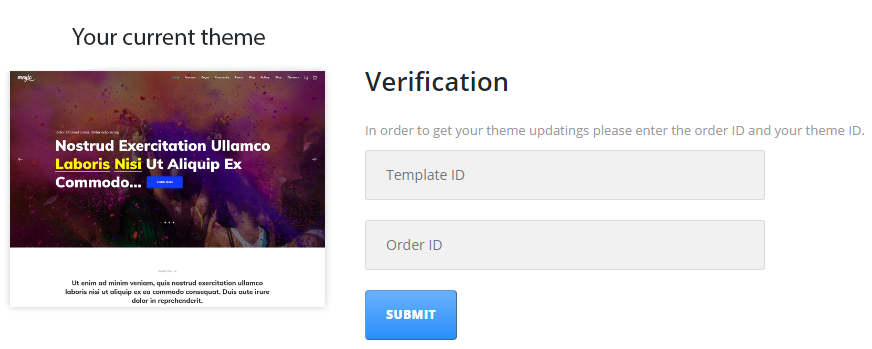
Updates
If you want to get your theme updates you have to registrate your template. Please, enter the order ID and Template ID and click on SUBMIT button. When new updates will be available you will get a notification in your admin panel. Be aware that you need to fill in both fields in order to get fresh updates.
Backup
This function allows you to create backups of your theme at will. To make a backup you just need to press the button 'Backup Theme' and a backup will be made instantly.
There is also a variety of settings for backups. Here they are:
-
- Backup before update
- An option enables backup before update, in this case a backup is made automatically right before the theme update changes will take place
-
- Scheduled Backup
- Here you can enable a sheduled backup
-
- Backup
- In this field you can set the specific frequency when the backup is to be made
-
- Time of backup
- Here you can set particular time for backup
-
- Number of backup copies
- Here you can set how many backup copies are to be made, the setting will define only the number of automatically made backups, you still can make as many backups manually as you need to
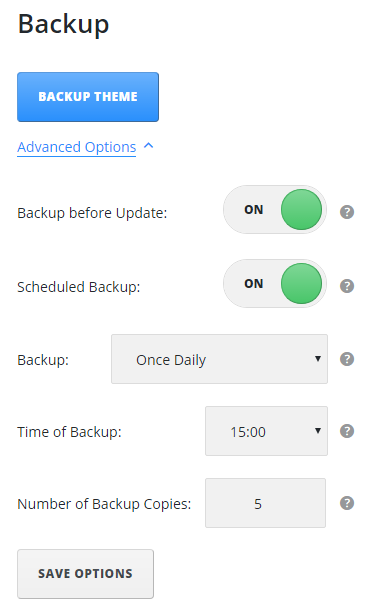
When all the changes are made you can save your settings by pressing the button "Save Options". That's it!
Backup List
To view the list of existing backups and make changes in it you need to view Updates tab on your Administration Panel. At the bottom of the page you\'ll see the list where you can view backup copies of your theme, made both automatically and manually.
- The note A on the line with backup means that this backup was made automatically.
- Backup Date shows the date and time when the backup was made.
- Version shows the version of your theme backup.
You can also restore, download and delete your backups.
